USB Power Entry, Vertical
author: psatyshur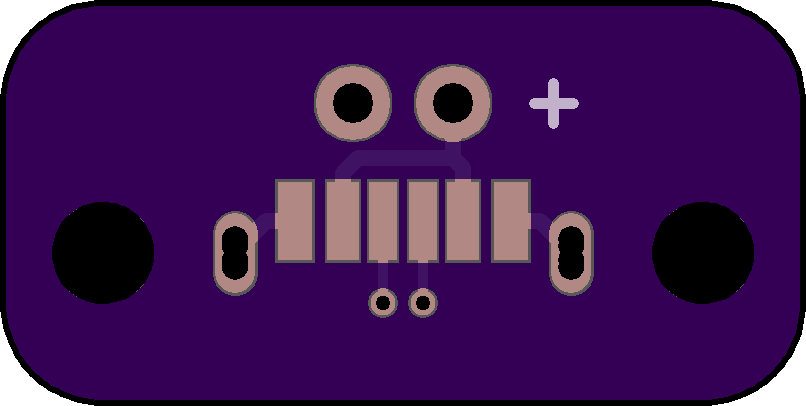

2 layer board of 0.80 x 0.40 inches (20.3 x 10.2 mm)
Uploaded:
December 06, 2021
Shared:
January 10, 2022
Total Price:
$1.60
A simple power entry PCB. Designed so that you can add a USB-C socket to your device to provide power. Does not include a data connection.
BOM:
| Part | Part Number | Quantity |
|---|---|---|
| USB Connector | [CUI Devices UJC-VP-3-SMT-TR](https://www.digikey.com/en/product… |
Show full description
A simple power entry PCB. Designed so that you can add a USB-C socket to your device to provide power. Does not include a data connection.
BOM:
| Part | Part Number | Quantity |
|---|---|---|
| USB Connector | [CUI Devices UJC-VP-3-SMT-TR](https://www.digikey.com/en/product… |
Show full description
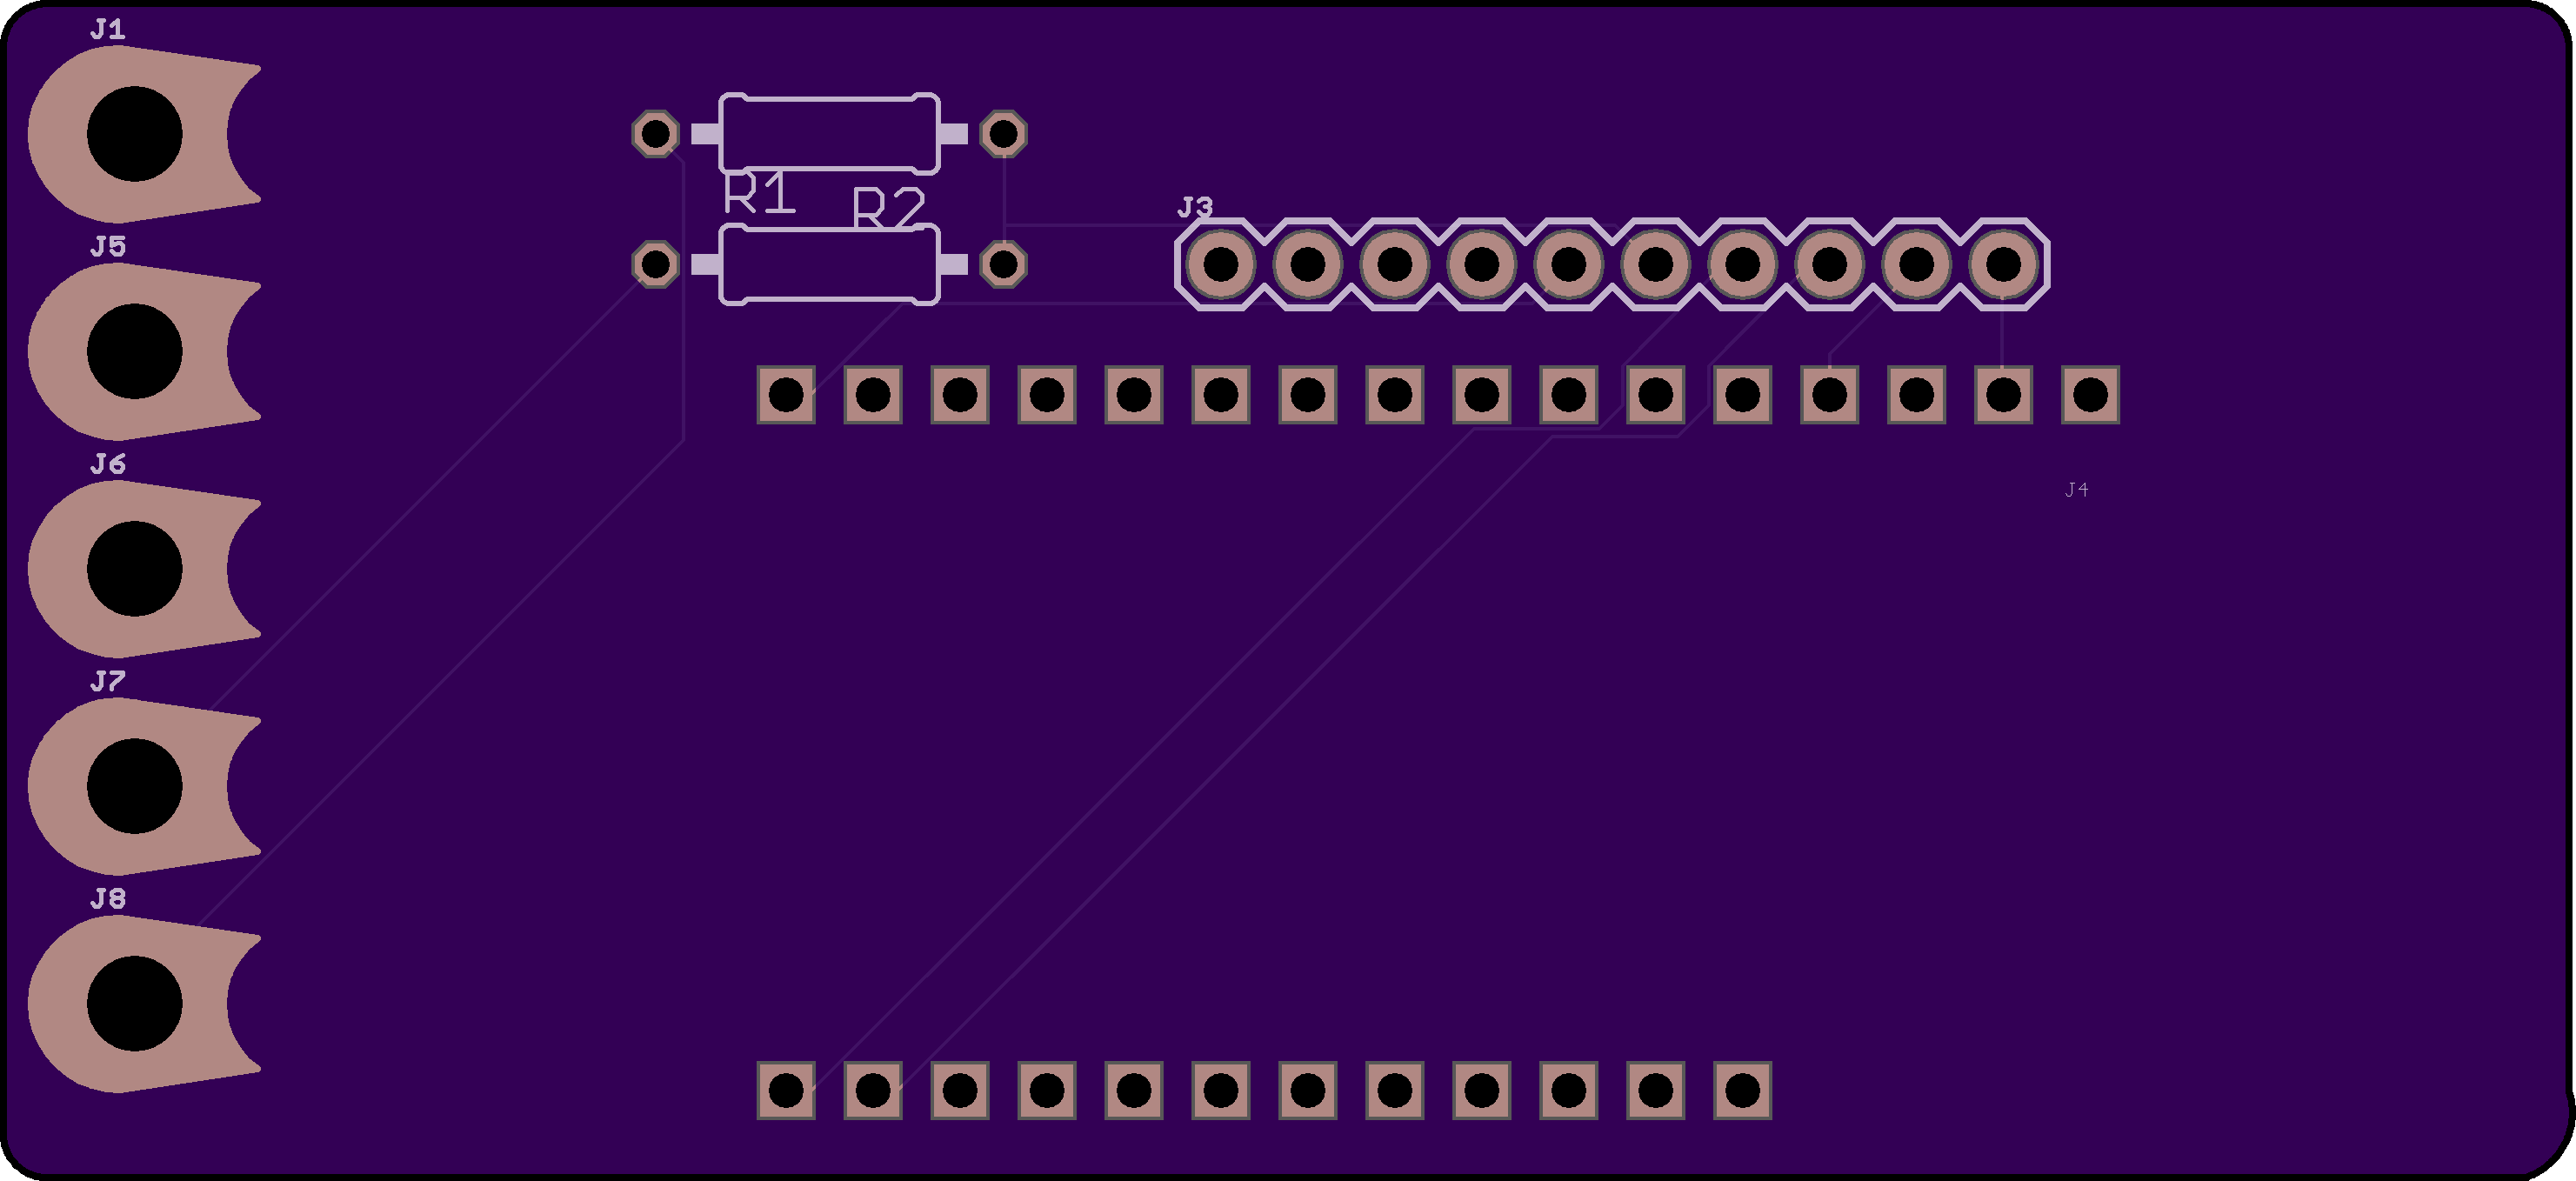
RJ12-RJ45-Link
author: jterryc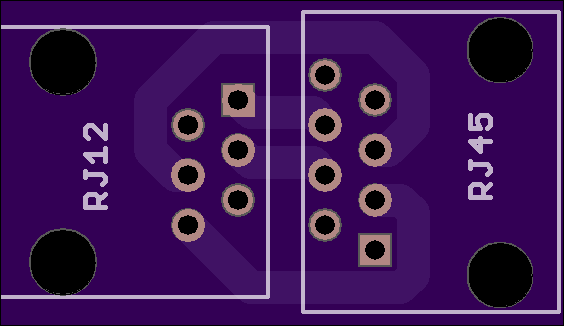

2 layer board of 1.13 x 0.65 inches (28.6 x 16.6 mm)
Uploaded:
March 05, 2021
Shared:
January 09, 2022
Total Price:
$3.65
Used to connect the 6-wire NCE Cab Bus to a standard CAT 5 cable
Used to connect the 6-wire NCE Cab Bus to a standard CAT 5 cable
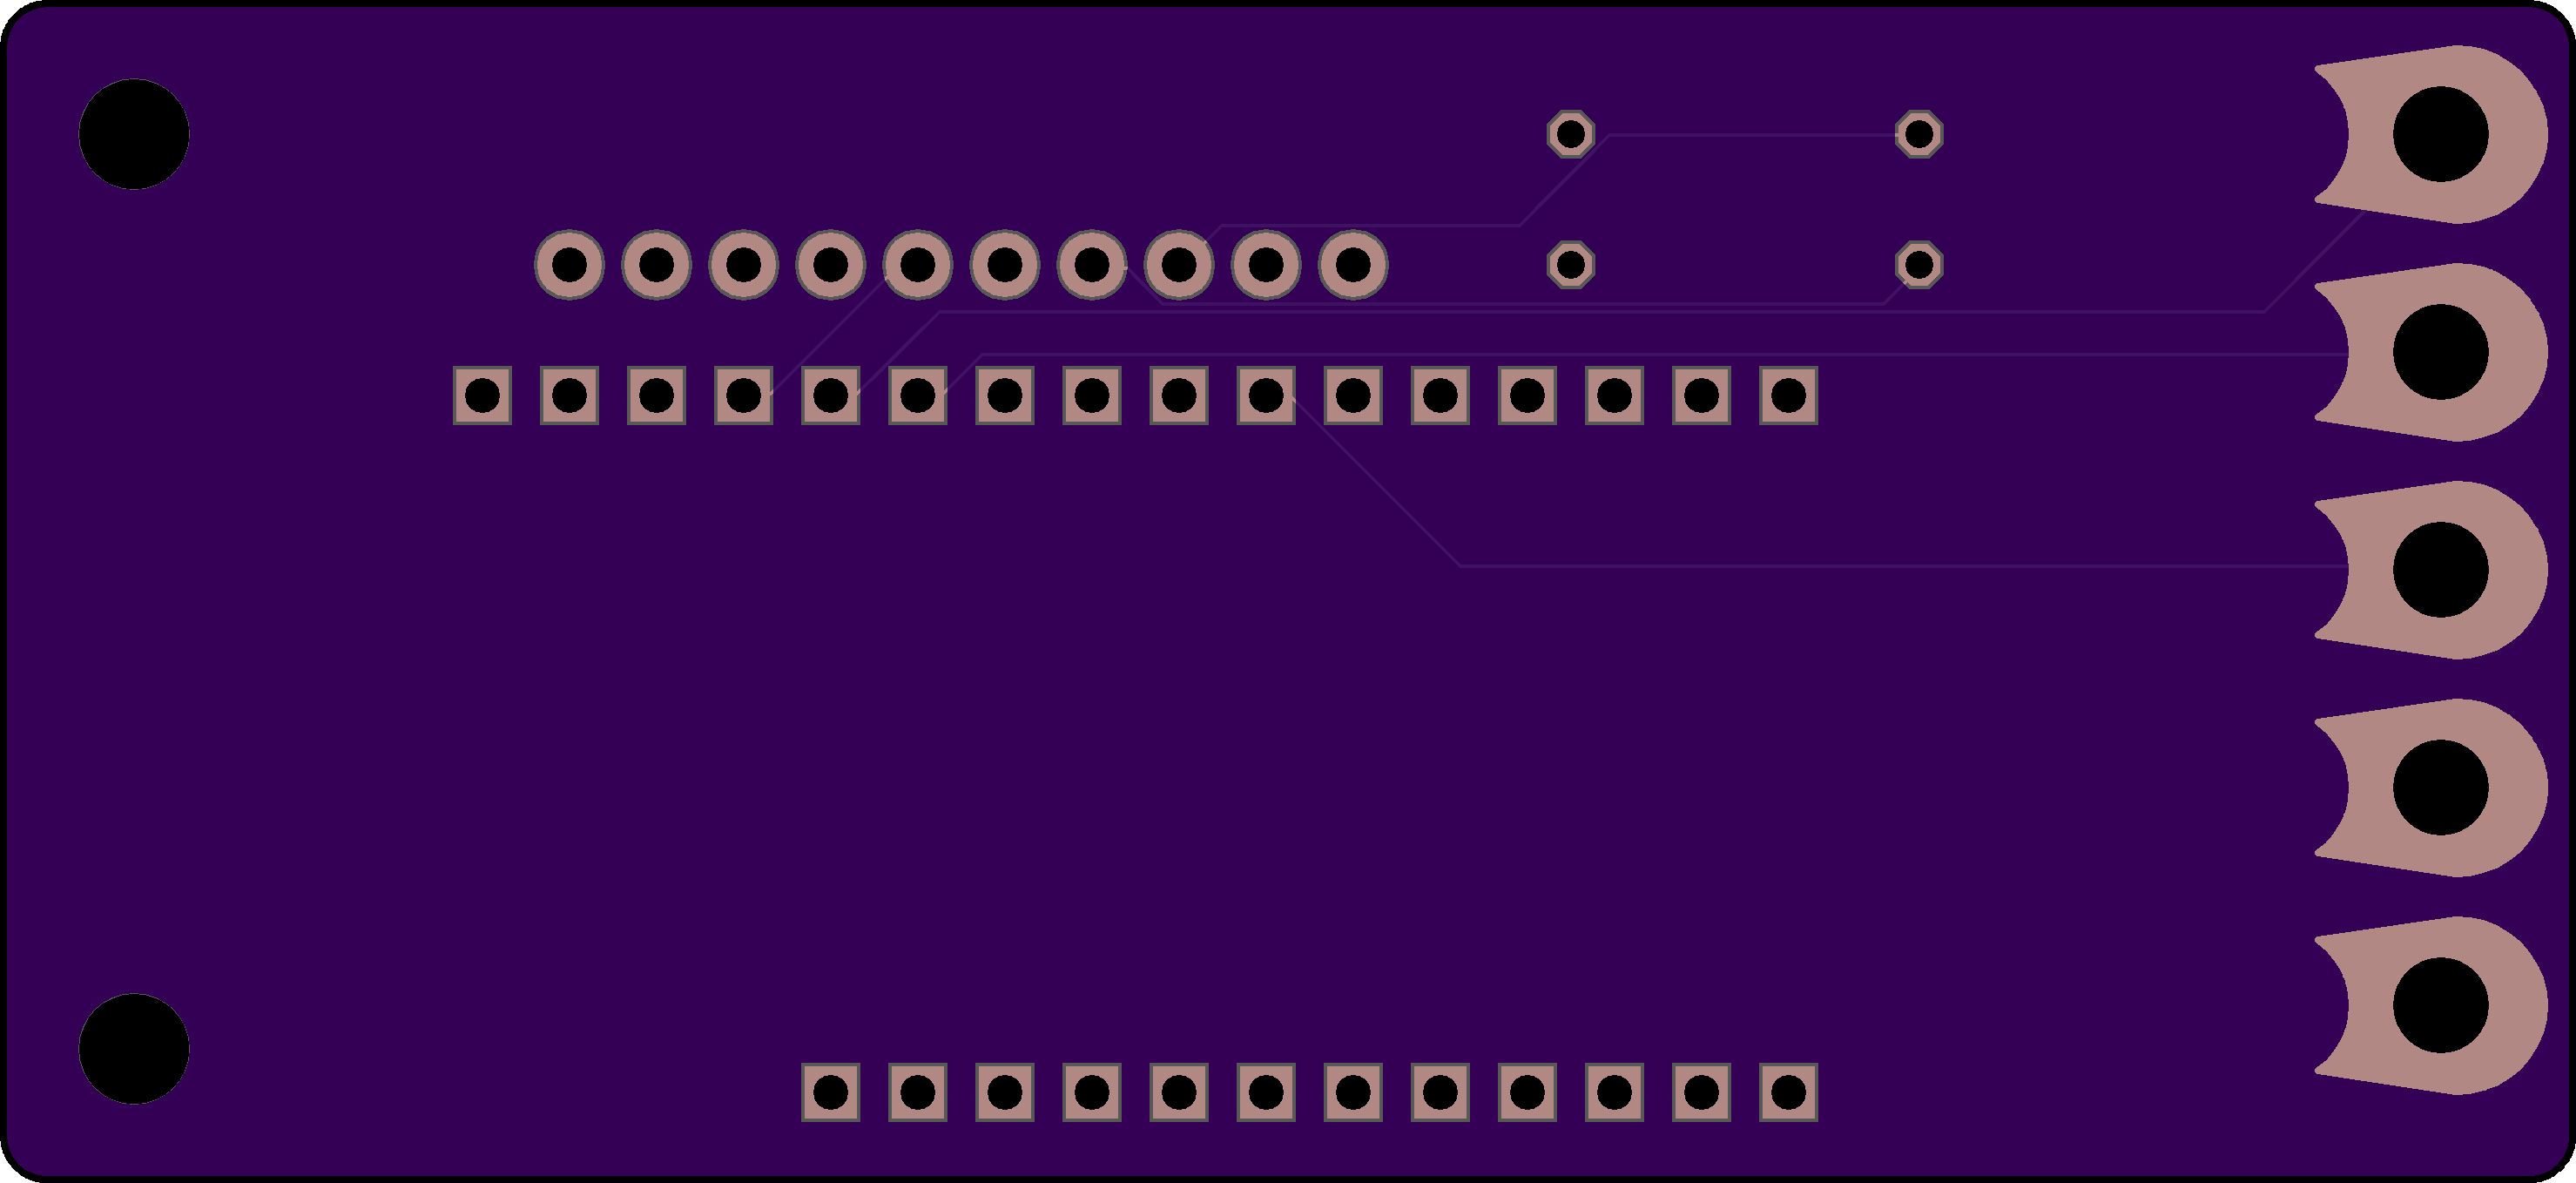
RJ12-RJ45-Panel
author: jterryc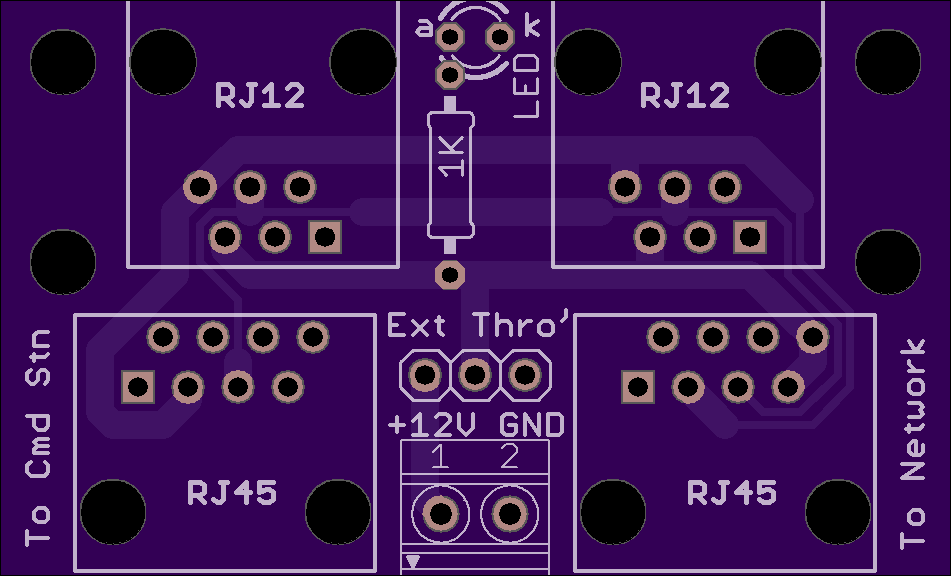

2 layer board of 1.90 x 1.15 inches (48.3 x 29.3 mm)
Uploaded:
March 05, 2021
Shared:
January 09, 2022
Total Price:
$10.95
Provides access for wired NCE Handheld Controllers using an RJ12 connector to an NCE Cab Bus implemented over CAT 5 cabling. There is provision for connection to an external 12 VDC supply if required.
Provides access for wired NCE Handheld Controllers using an RJ12 connector to an NCE Cab Bus implemented over CAT 5 cabling. There is provision for connection to an external 12 VDC supply if required.
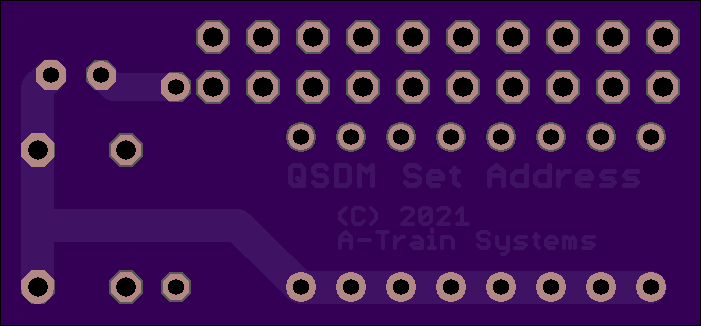
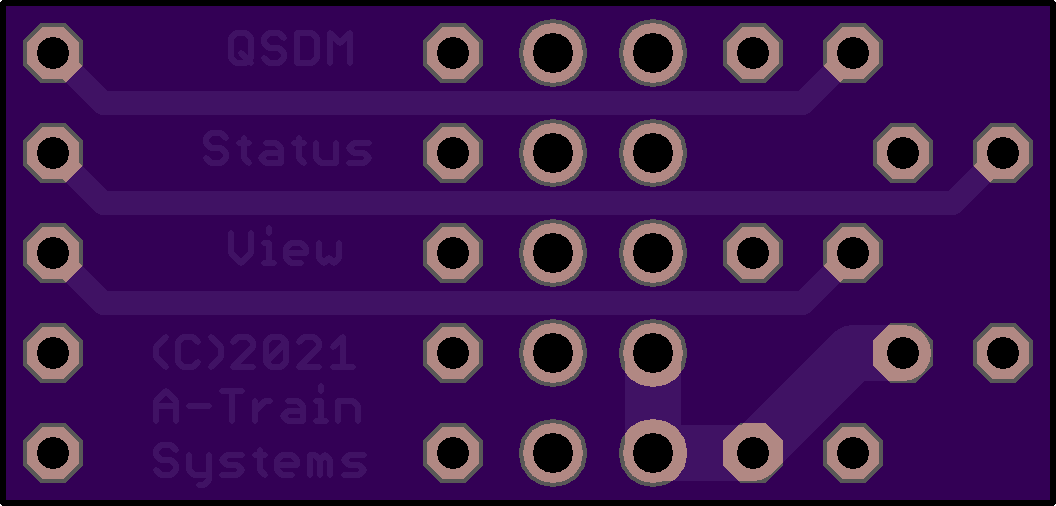
QSDM - SetAddress
author: jterryc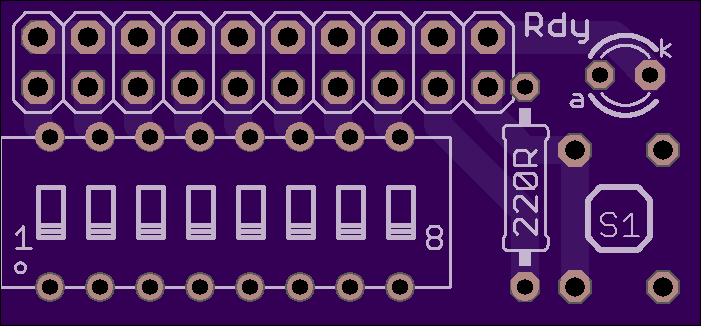
2 layer board of 1.40 x 0.65 inches (35.6 x 16.6 mm)
Uploaded:
March 24, 2021
Shared:
January 09, 2022
Total Price:
$4.55
A plug-on keypad used to set the NCE Cab Bus address for the Monitor section of the Quad Servo Decoder Monitor unit
A plug-on keypad used to set the NCE Cab Bus address for the Monitor section of the Quad Servo Decoder Monitor unit
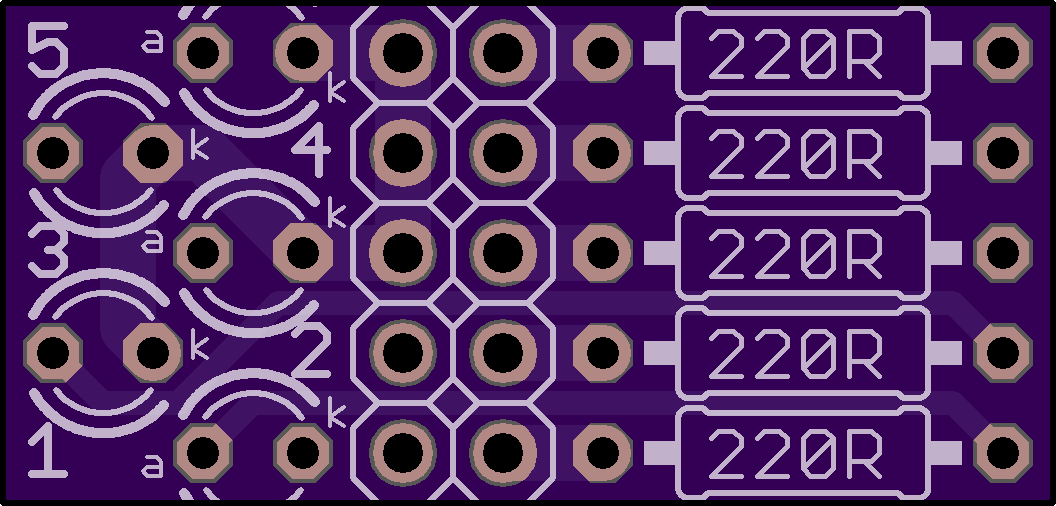
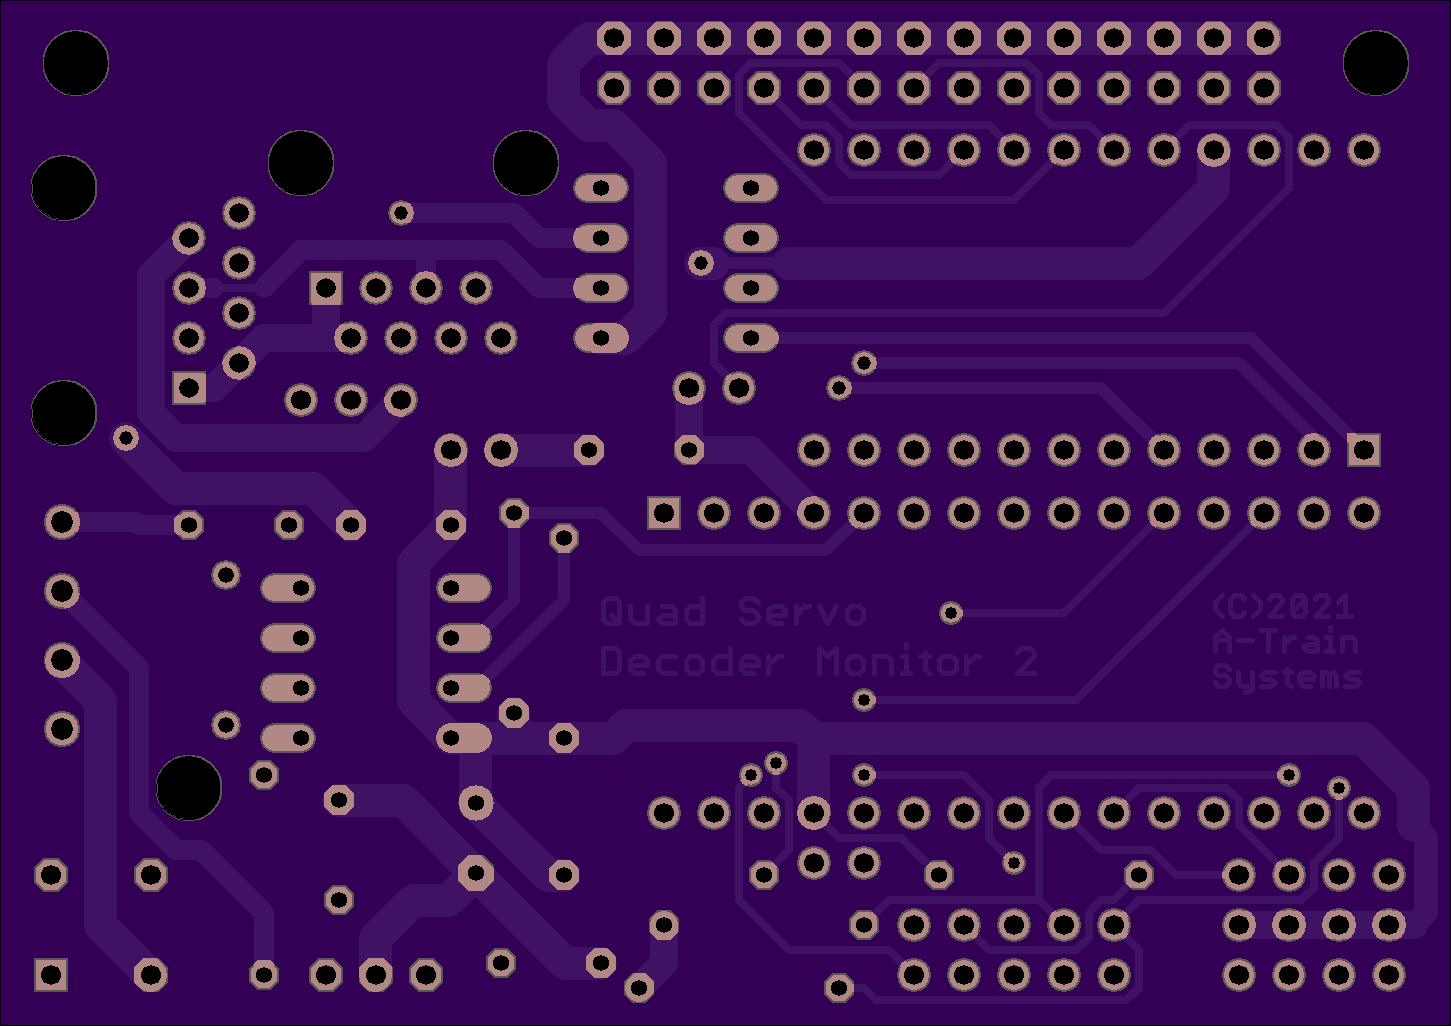
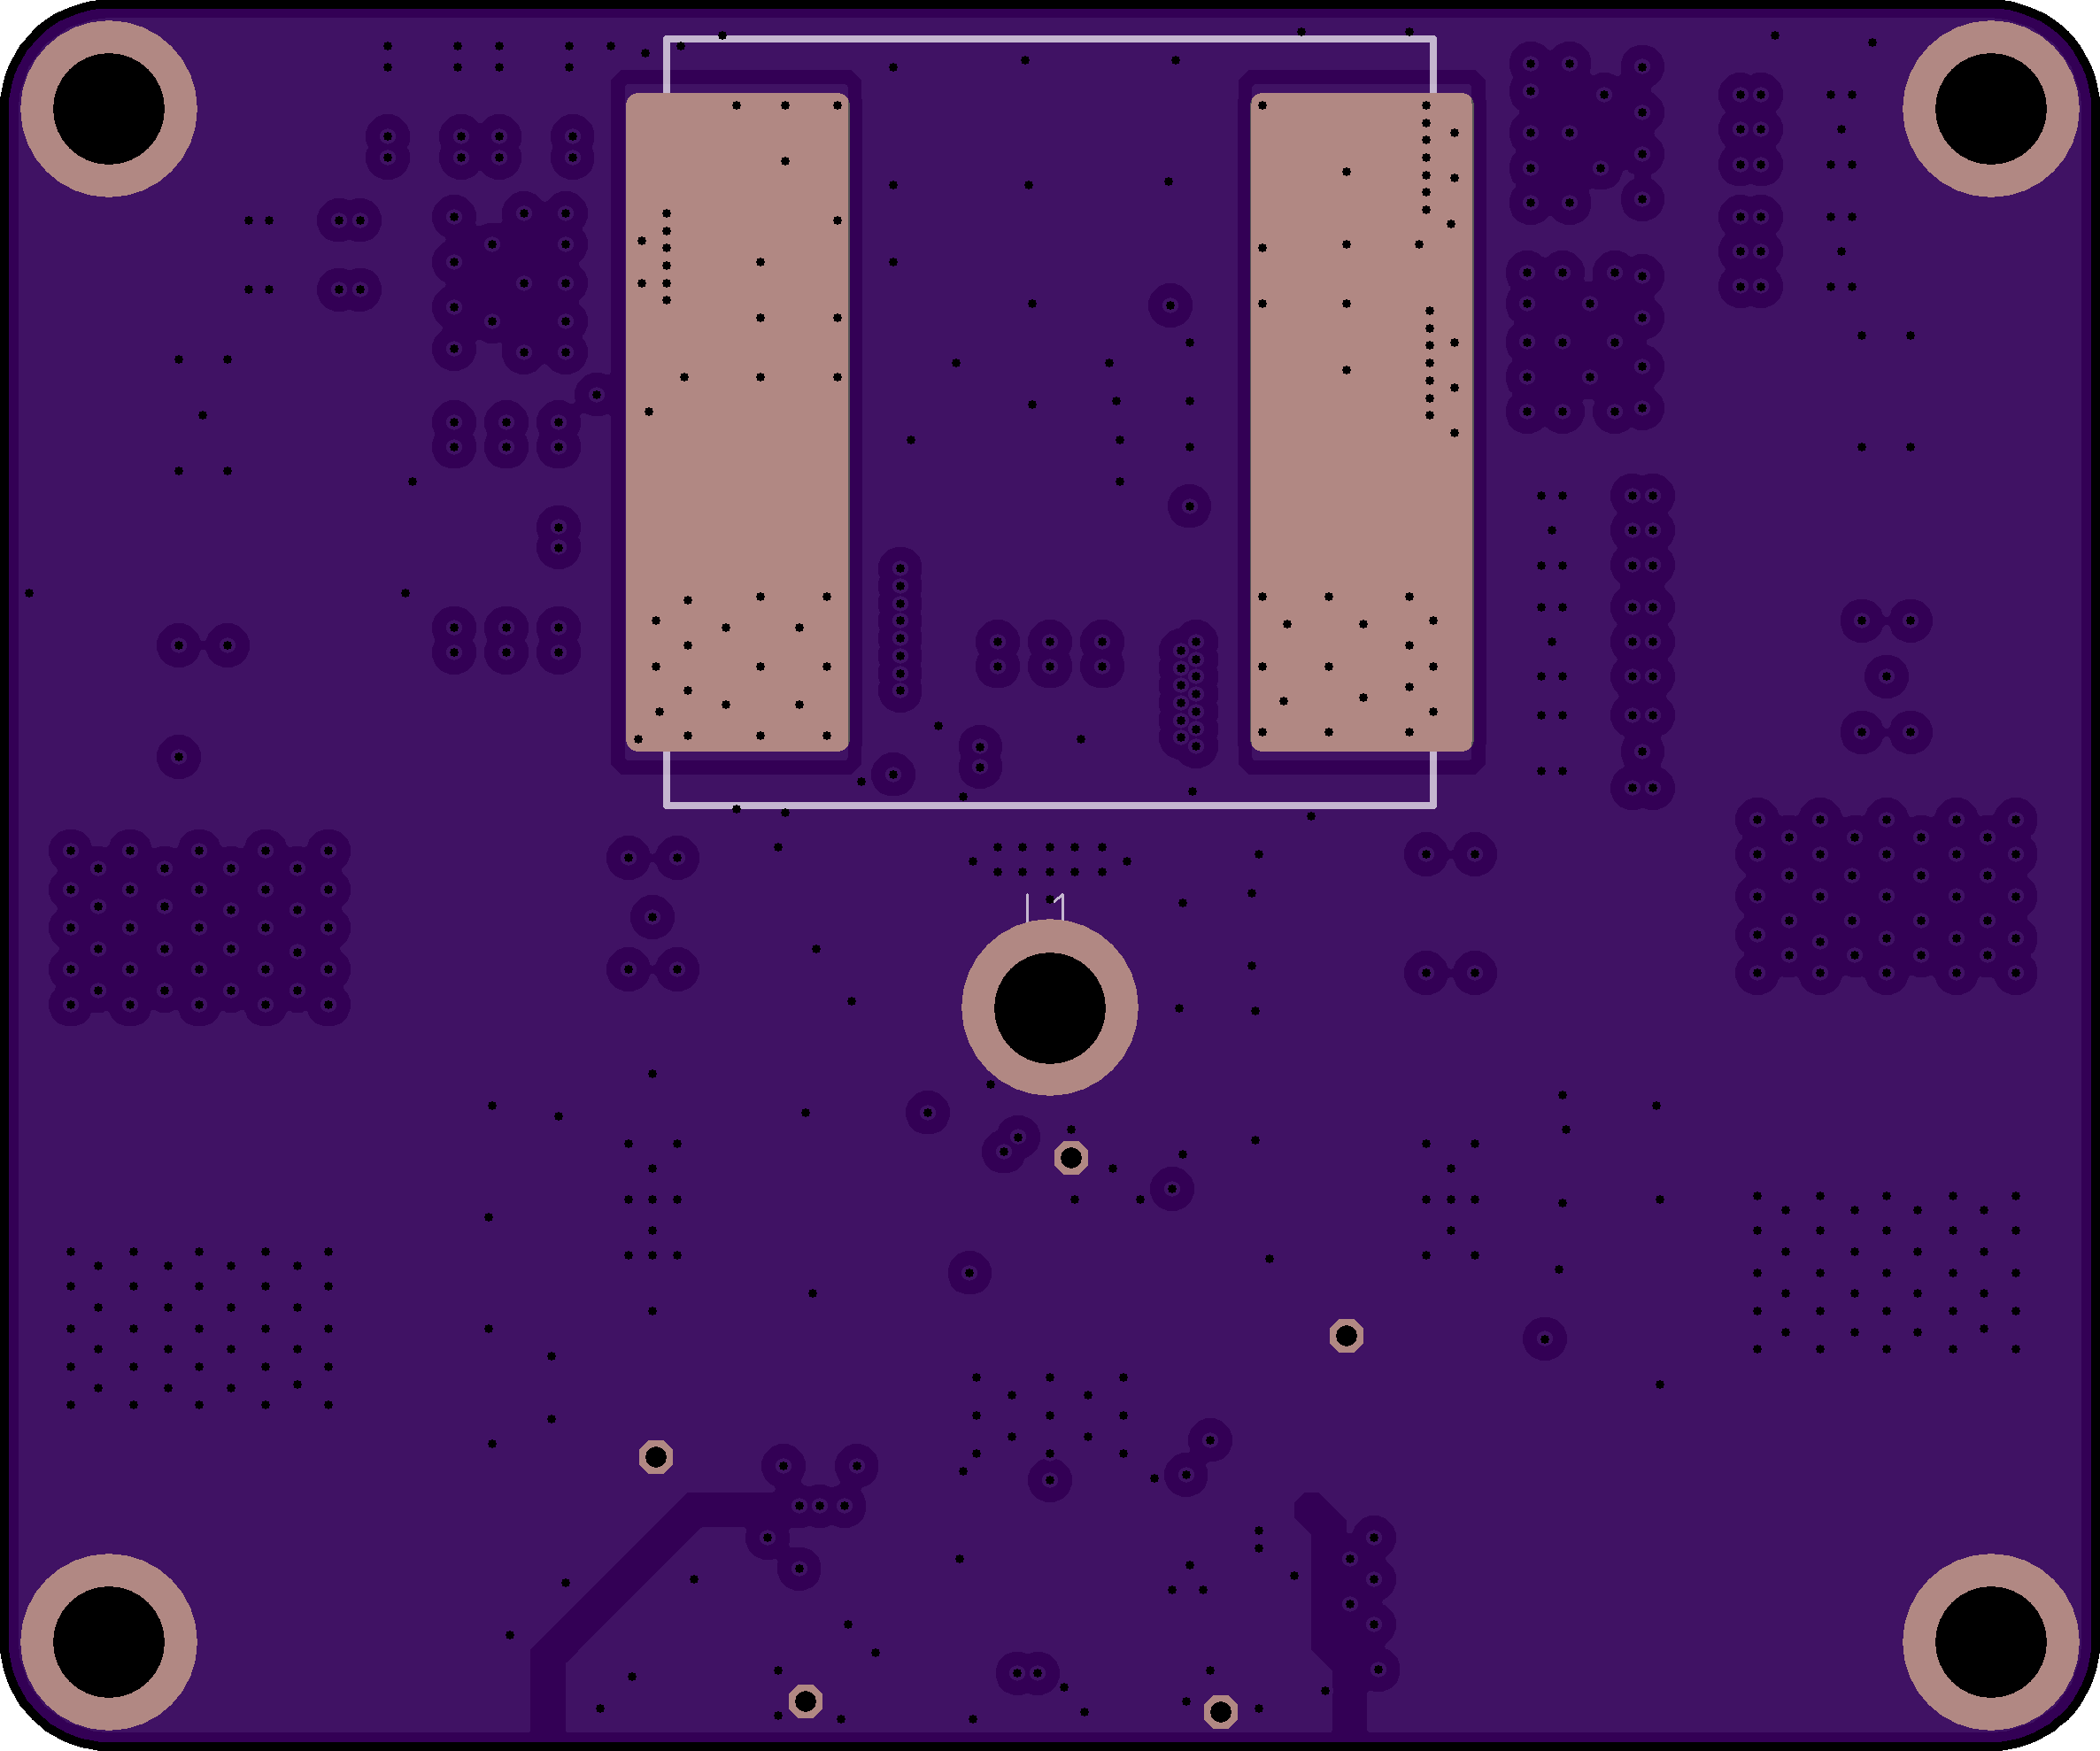
Quad-Servo_Decoder+Monitor_2-1
author: jterryc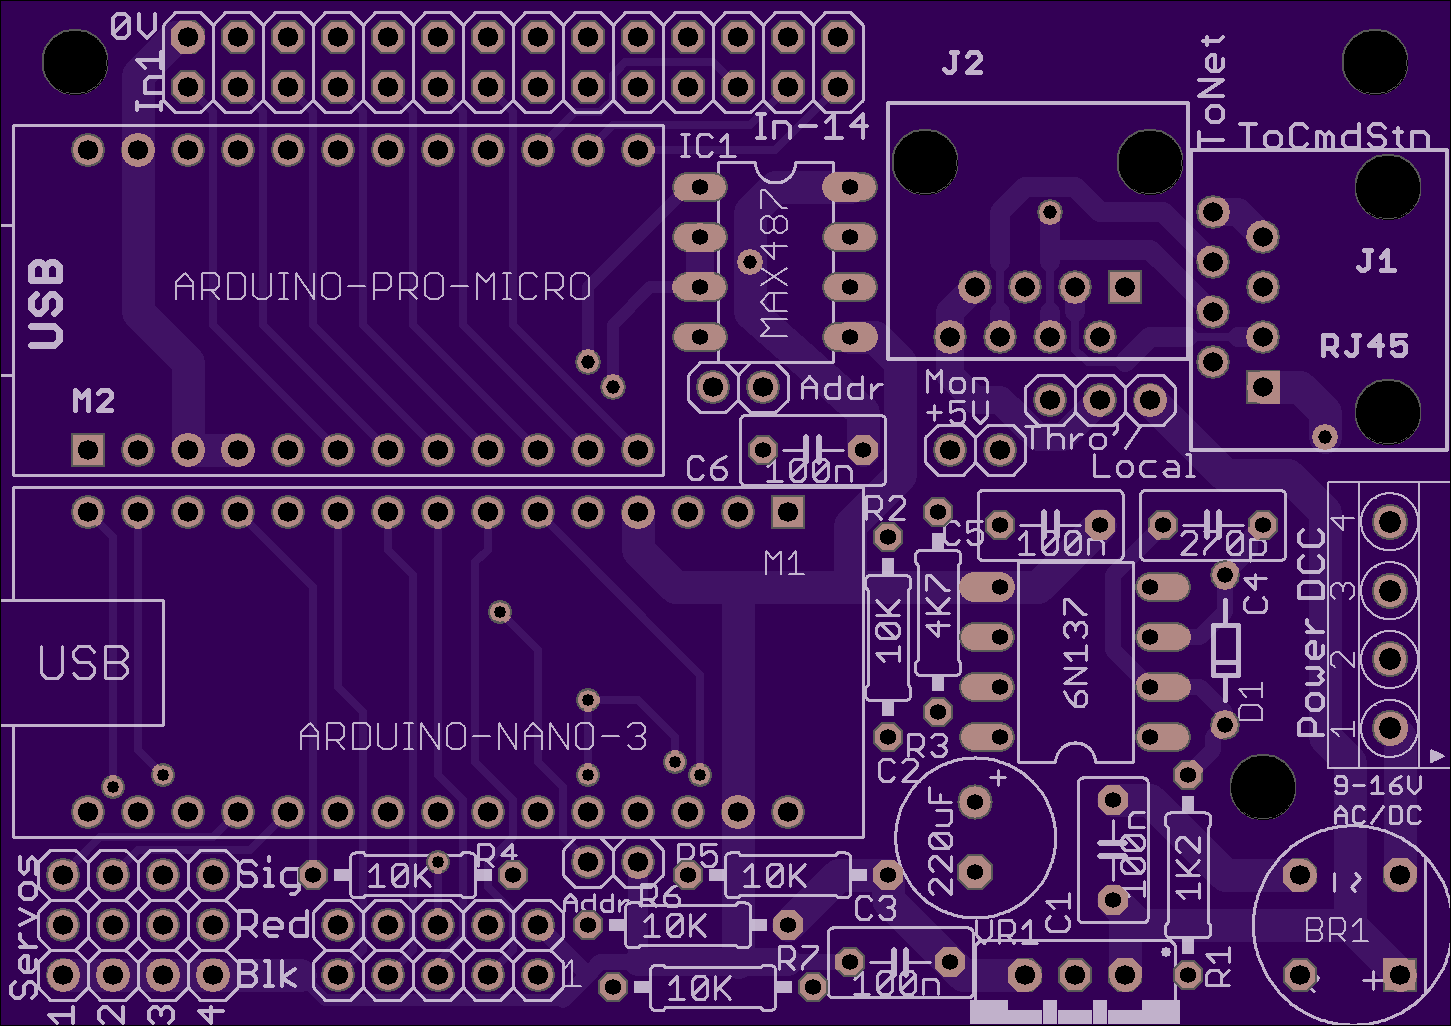
2 layer board of 2.90 x 2.05 inches (73.7 x 52.2 mm)
Uploaded:
May 25, 2021
Shared:
January 09, 2022
Total Price:
$29.75
Combines a DCC Accessory Decoder, which can drive four standard servos, with a Monitor Unit with the same capabilities as an NCE Auxiliary Input Unit. Four of the Monitor Unit inputs can be used to report the position of turnouts driven by the servos, leaving 10 inputs spare for connection to blo…
Show full description

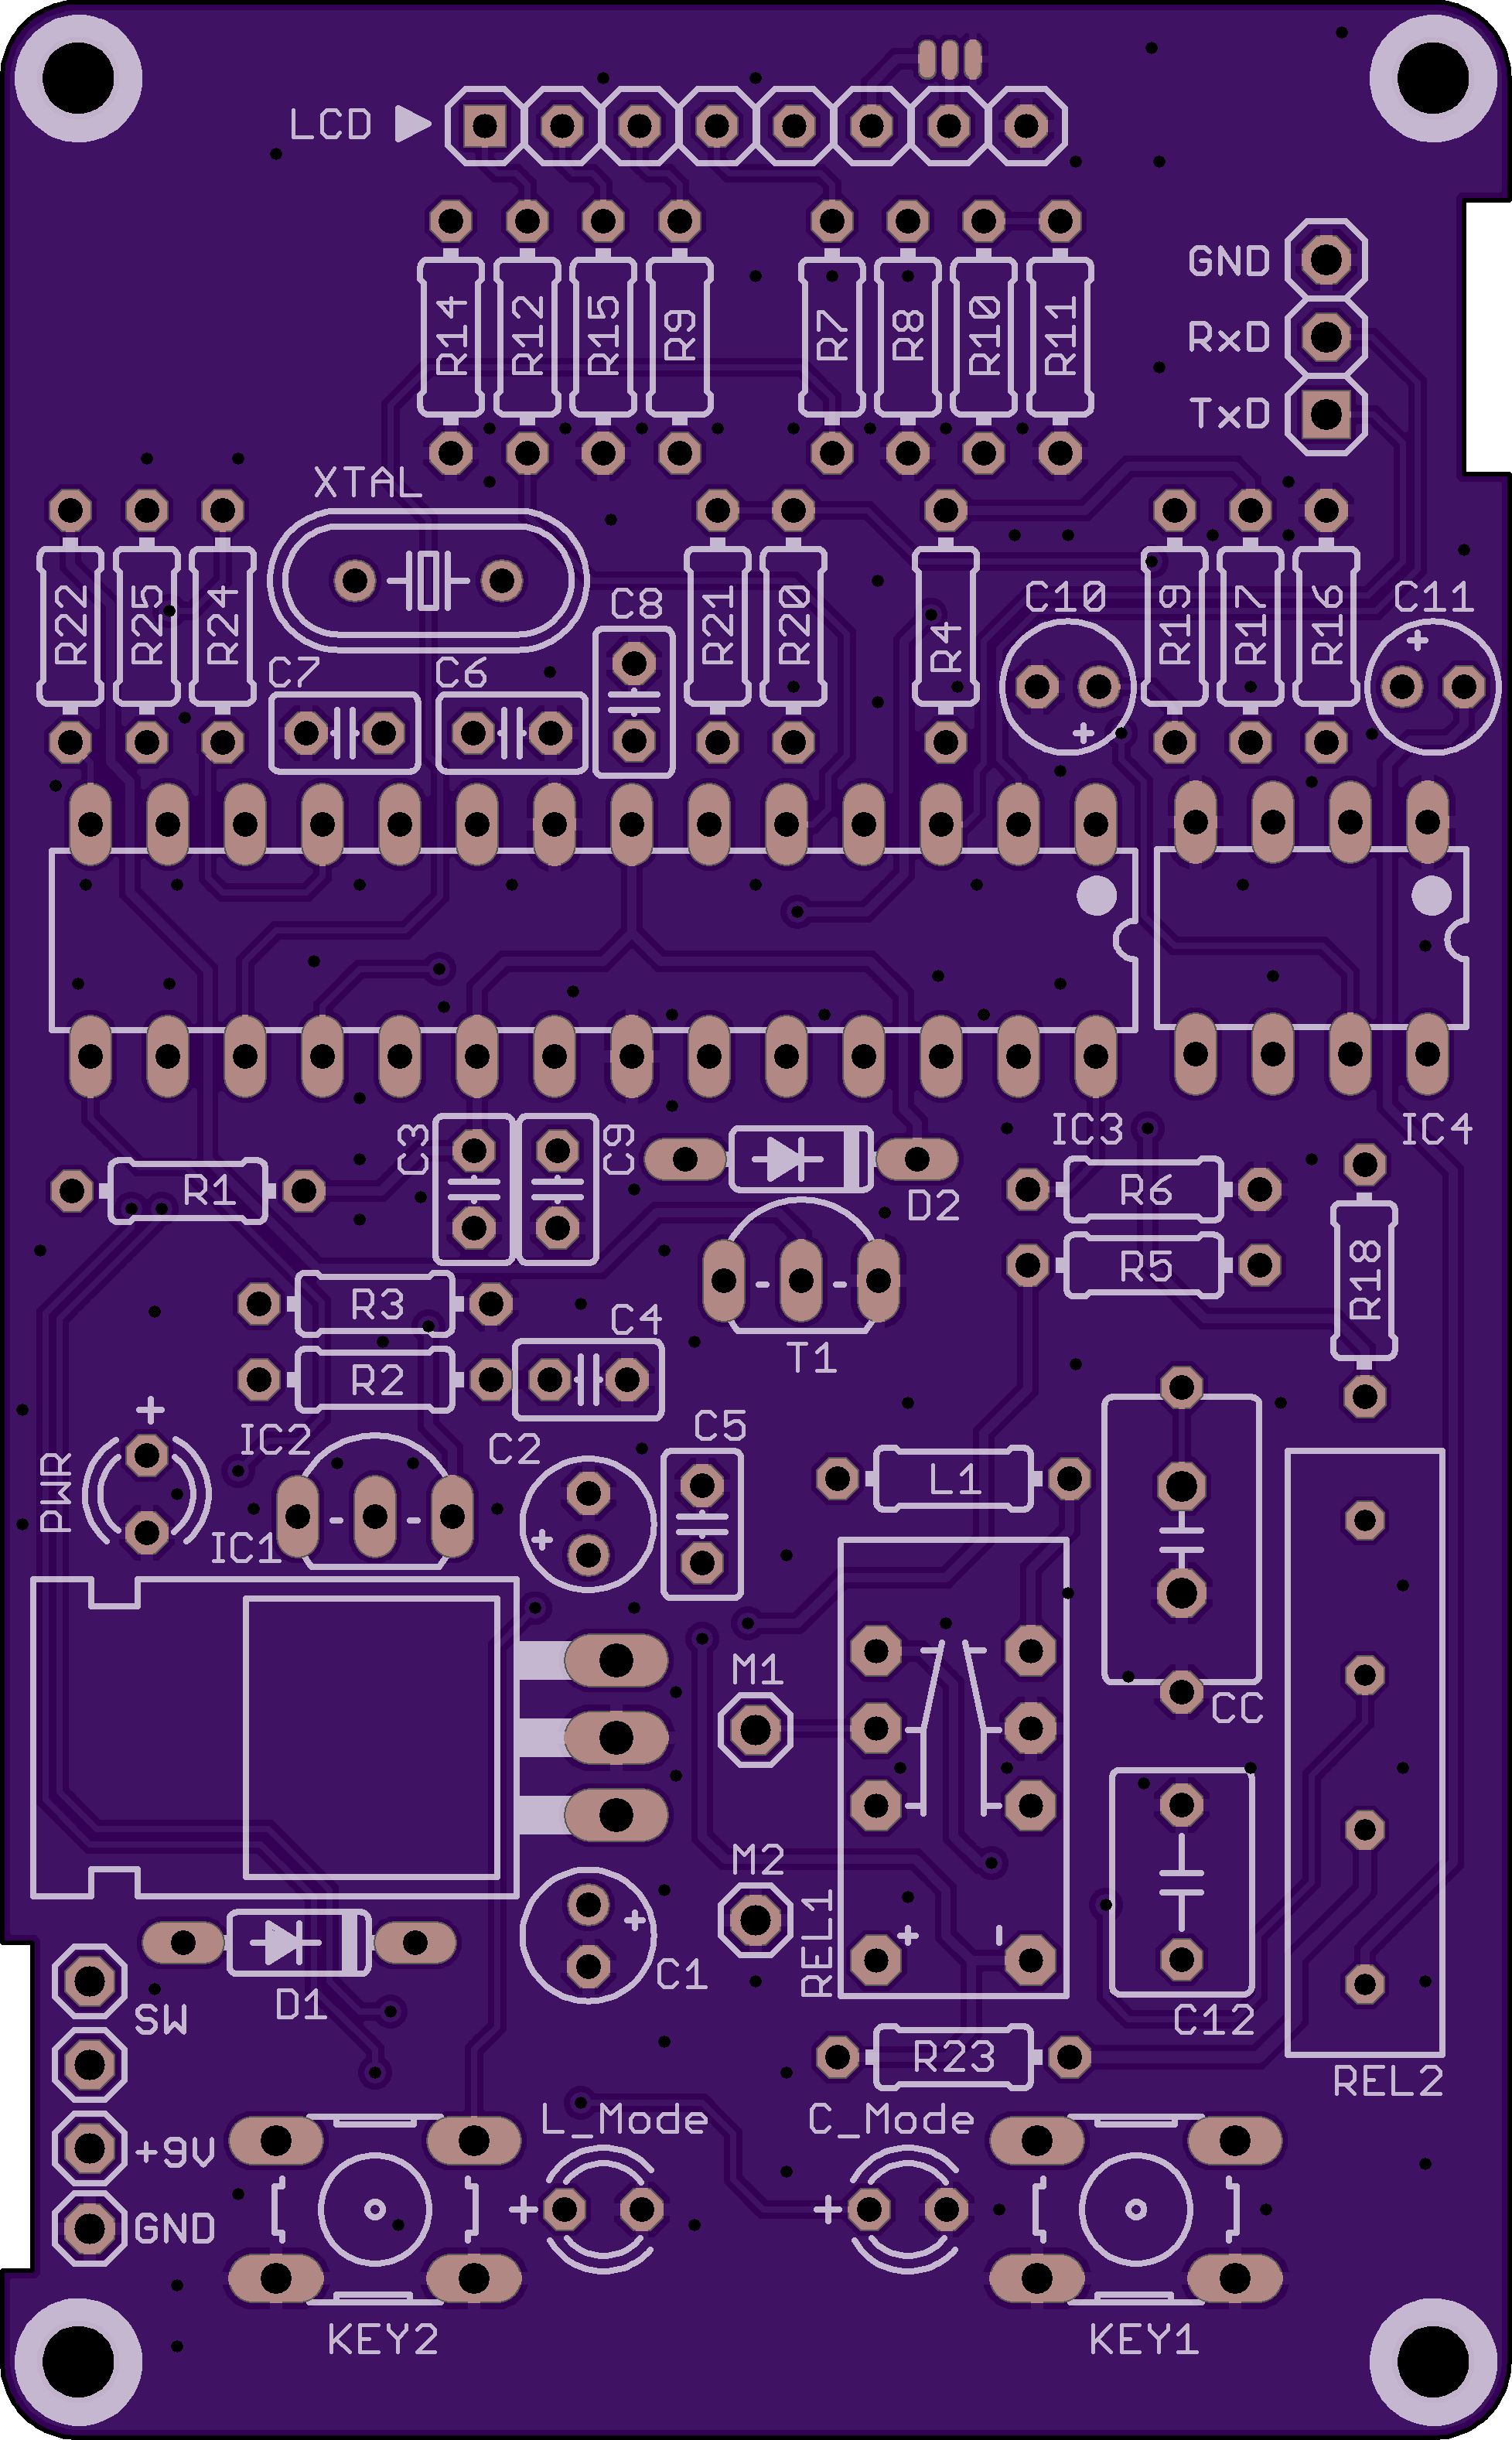
Mini8085 Extension
author: Serge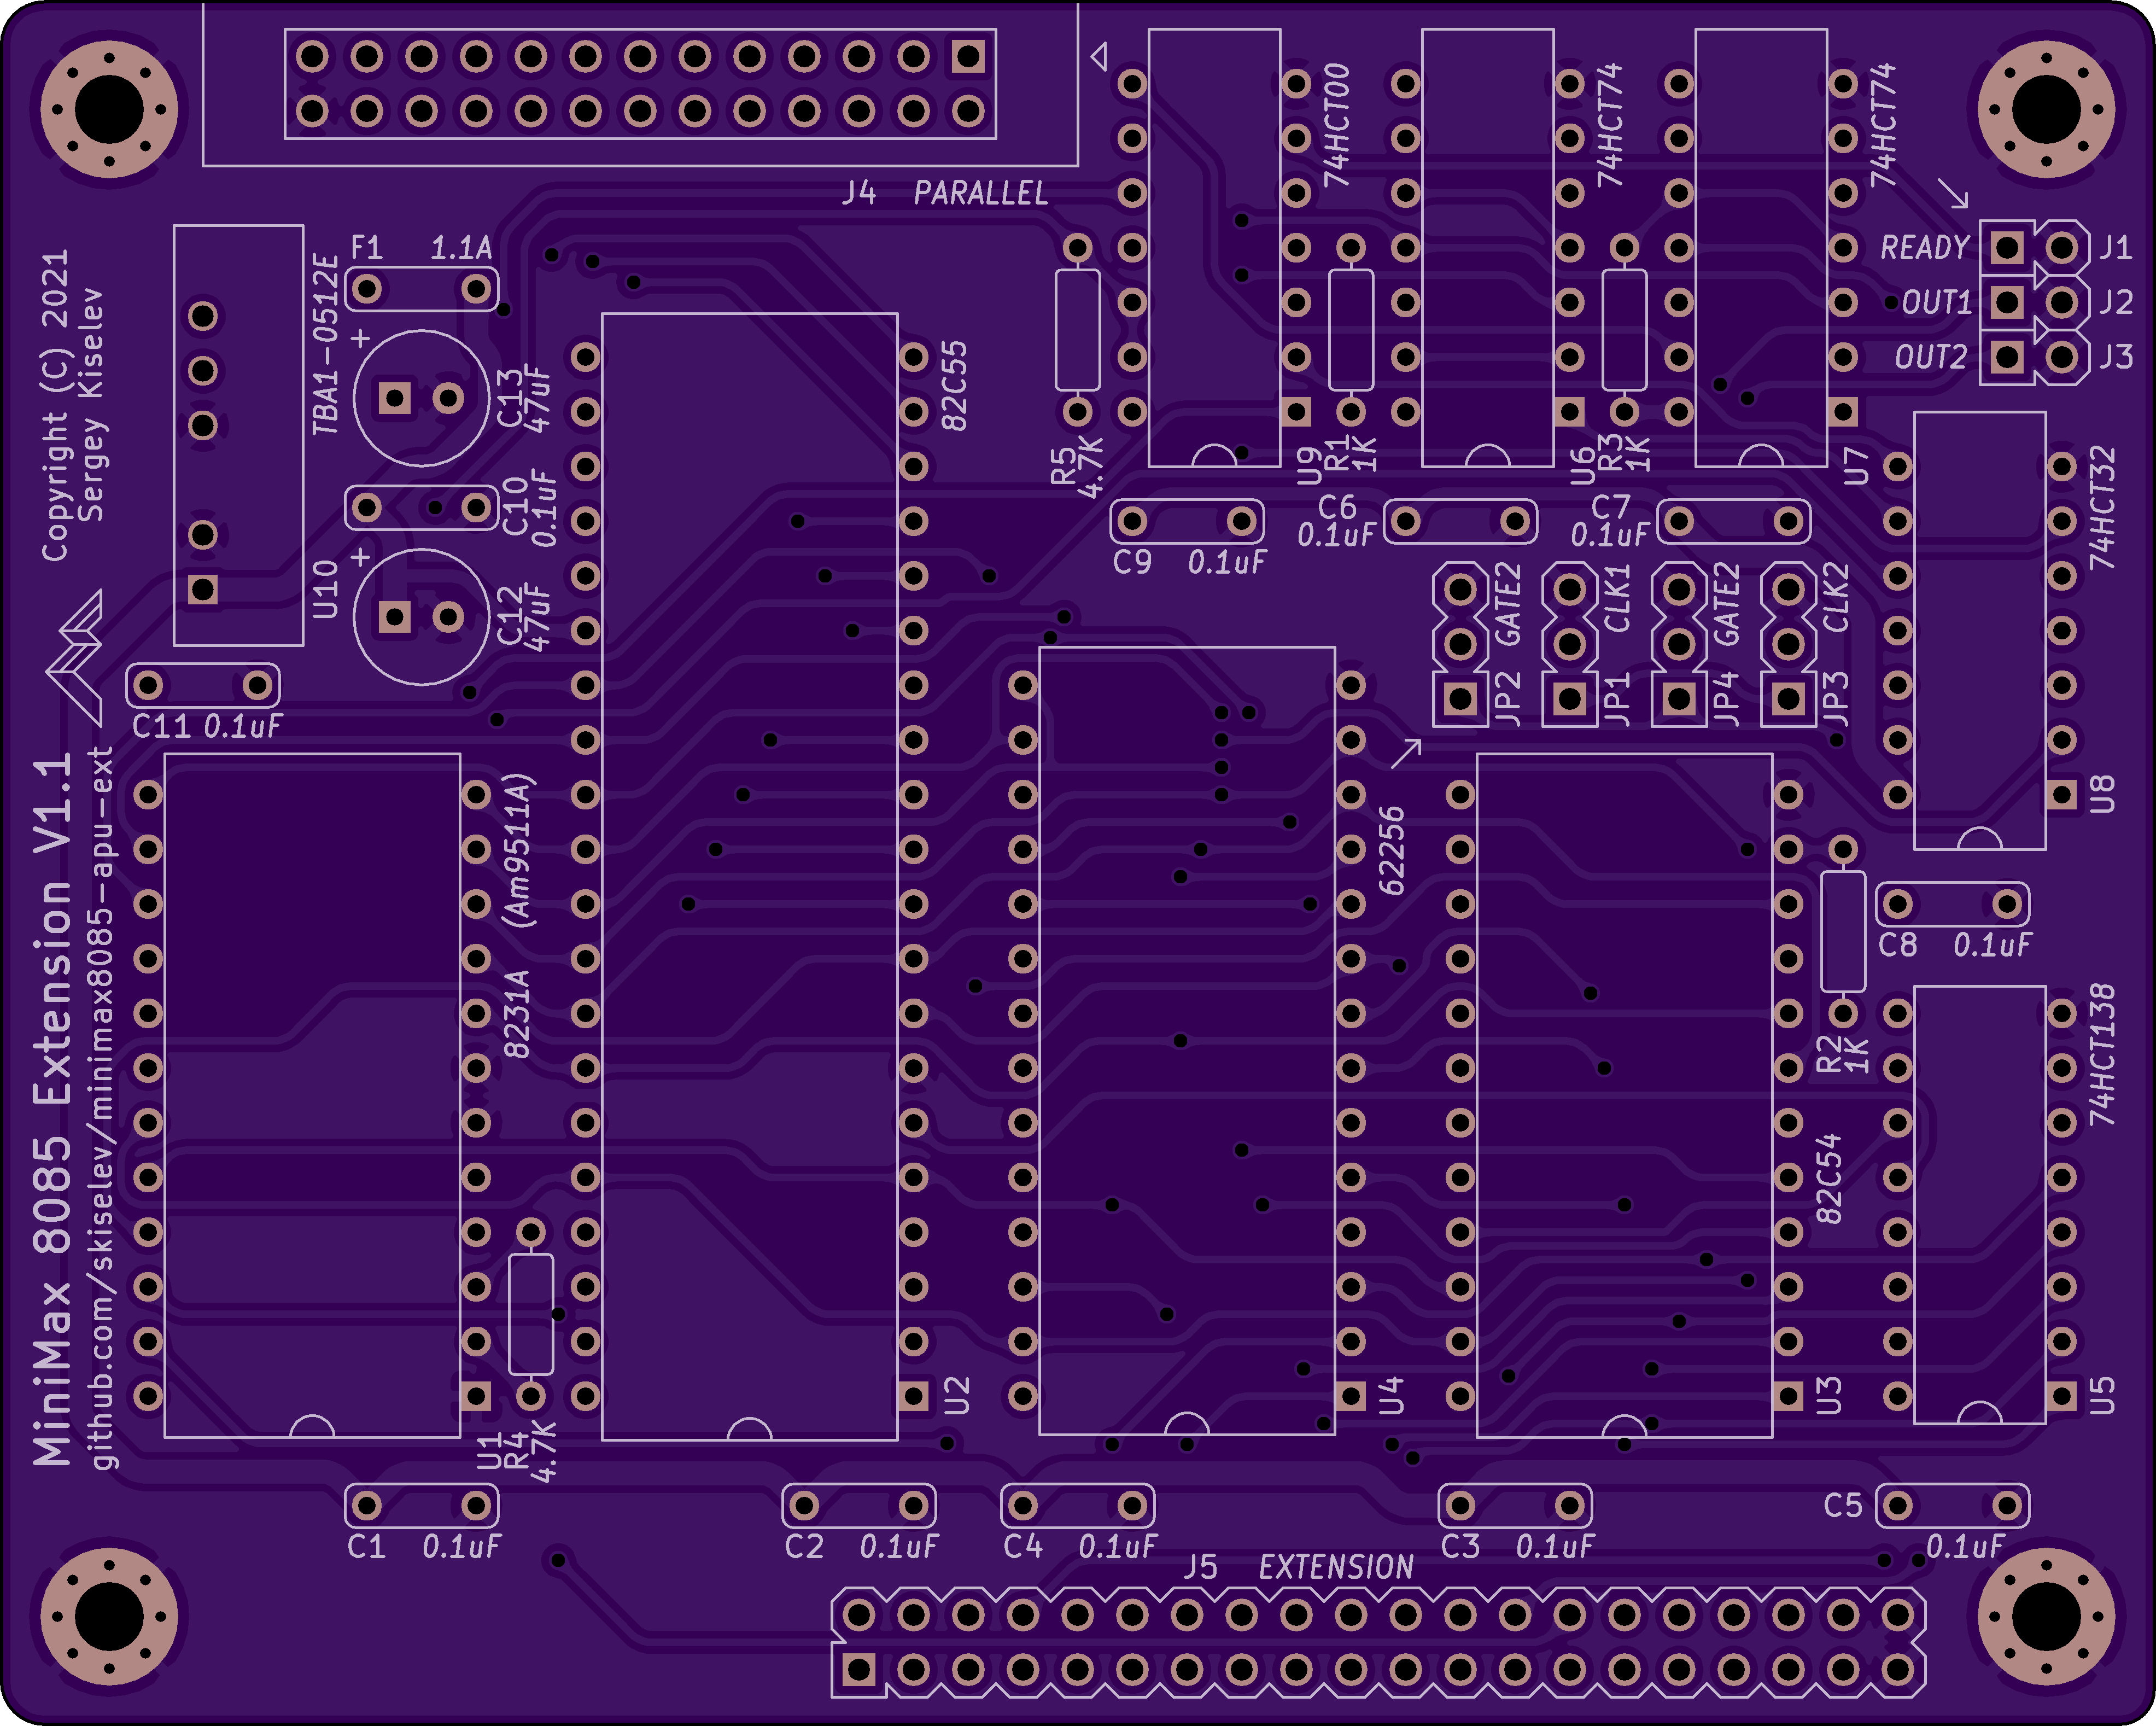

2 layer board of 3.94 x 3.15 inches (100.0 x 80.0 mm)
Uploaded:
January 08, 2022
Shared:
January 08, 2022
Total Price:
$62.00
MiniMax 8085 Extension board adds to MiniMax 8085 SBC an AMD Am9511A / Intel 8231A Arithmetic Processor Unit (APU), Intel 8255 Programmable Parallel Interface (PPI), Intel 8254 Programmable Interrupt Timer (PIT), and switchable 32 KiB SRAM, that can swap…
Show full description
MiniMax 8085 Extension board adds to MiniMax 8085 SBC an AMD Am9511A / Intel 8231A Arithmetic Processor Unit (APU), Intel 8255 Programmable Parallel Interface (PPI), Intel 8254 Programmable Interrupt Timer (PIT), and switchable 32 KiB SRAM, that can swap…
Show full description
SMD Dummy Load
author: themindiswatching

2 layer board of 0.80 x 1.35 inches (20.3 x 34.3 mm)
Uploaded:
January 07, 2022
Shared:
January 08, 2022
Total Price:
$5.40
12-14W dummy load for ham radios. Designed to practice SMD soldering :)
Parts can be purchased from Mouser by ordering the project shown at https://www.mouser.com/ProjectManager/ProjectDetail.aspx?AccessID=8b5f768707.
12-14W dummy load for ham radios. Designed to practice SMD soldering :)
Parts can be purchased from Mouser by ordering the project shown at https://www.mouser.com/ProjectManager/ProjectDetail.aspx?AccessID=8b5f768707.
dw-probe-v1.1
author: fogg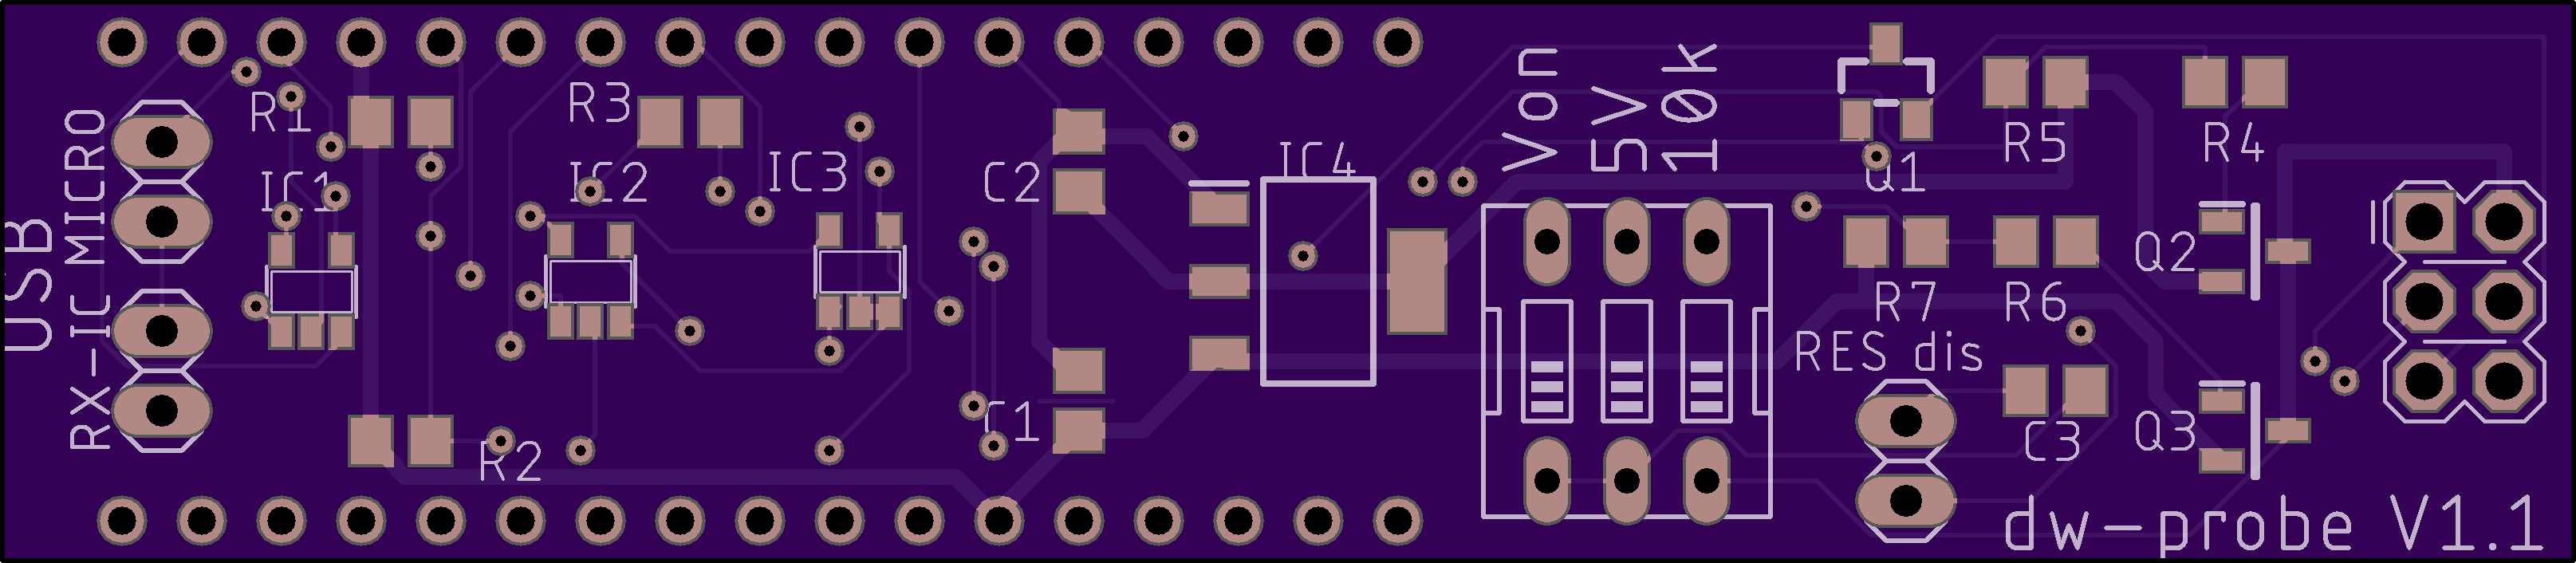

2 layer board of 3.22 x 0.70 inches (81.9 x 17.8 mm)
Uploaded:
January 07, 2022
Shared:
January 07, 2022
Total Price:
$11.25
debugWIRE probe base for Nano, Pro Mini, Pro Micro, or Micro https://github.com/felias-fogg/dw-link
debugWIRE probe base for Nano, Pro Mini, Pro Micro, or Micro https://github.com/felias-fogg/dw-link
ti_debug_adapter
author: michaelmoore44
2 layer board of 0.94 x 0.75 inches (24.0 x 19.0 mm)
Uploaded:
January 07, 2022
Shared:
January 07, 2022
Total Price:
$3.50
Wireless_jogger_2022-01-07
author: DanielCanaday
4 layer board of 1.30 x 2.35 inches (33.1 x 59.6 mm)
Uploaded:
January 07, 2022
Shared:
January 07, 2022
Total Price:
$30.50


Gerbers_Korben_Lidar1
author: korbendrake
2 layer board of 2.46 x 1.63 inches (62.5 x 41.4 mm)
Uploaded:
January 05, 2022
Shared:
January 05, 2022
Total Price:
$20.05
Senior Design Lidar PCB V:1.0.0
Senior Design Lidar PCB V:1.0.0
