OpenFIRE (I2C) DIY Wiimote IR Camera PCB (JST PH 2.0)
author: mikoyv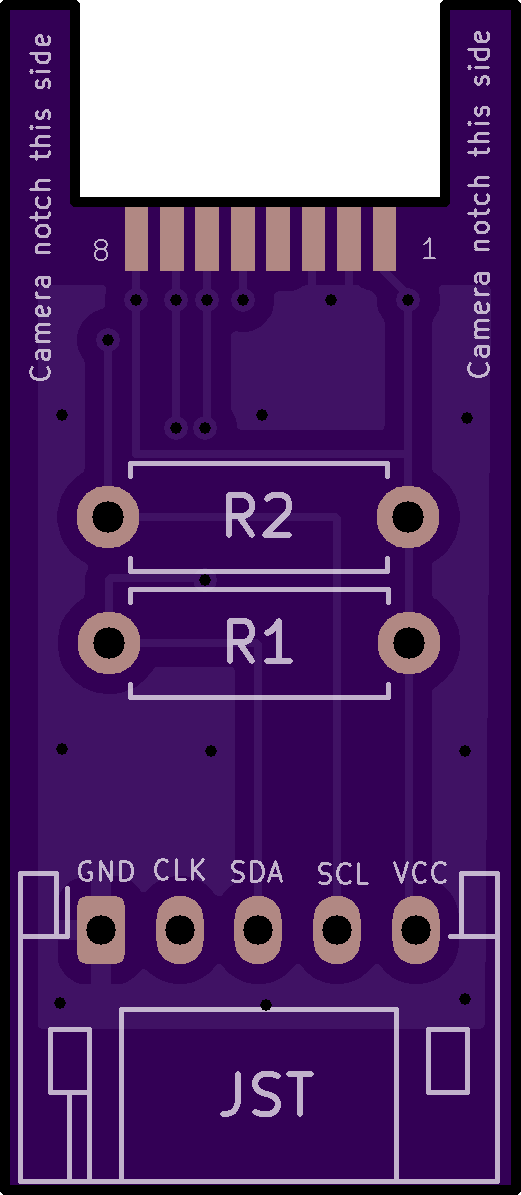
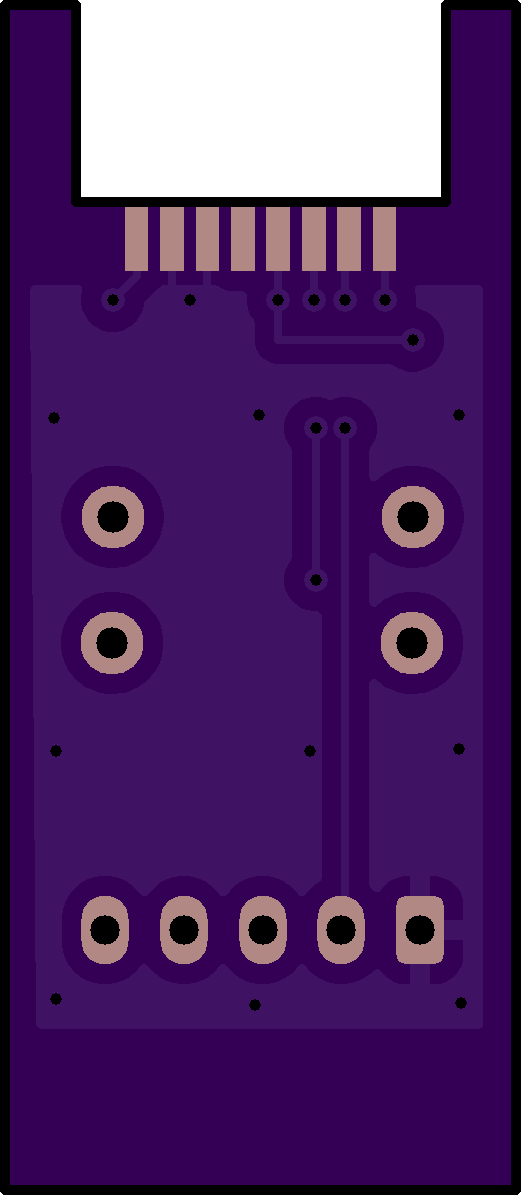
2 layer board of 0.52 x 1.19 inches (13.1 x 30.2 mm)
Uploaded:
October 21, 2026
Shared:
October 21, 2026
Total Price:
$3.05
-Beginner-Friendly Through-Hole Resistors: Uses through-hole resistors (4.7kΩ) for easy hand-soldering and a slim profile.
-Official Hardware Guide Aligned: The trace layout is designed directly from the “DIY Wiimote Conversion (Using Clock Pin)” schematic on page 4 of the official OpenFIRE-Hardware-Guide_1.3.pdf manual.
-Optional 5-Pin JST Connector: Physical JST socket will fit inside the barrel shell (JST MX 1.25)
-Enclosure-Ready Geometry: Formatted specifically to seat right into RetroMidget’s Wiimote camera housing using standard dimensions from @slikvik55’s Lightgun3DParts repository.
-Zero Onboard Crystal Needed: Relies on OpenFIRE’s native pin-generated clock (CLK), omitting external oscillators.
-Direct 3.3V Power Line: Streamlined 3.3V power path supplied directly by a Raspberry Pi Pico.
https://github.com/mikoyv3/openfire-wiimote-cam-adapter
