Wearable Plumage - 12 pin side
author: Greys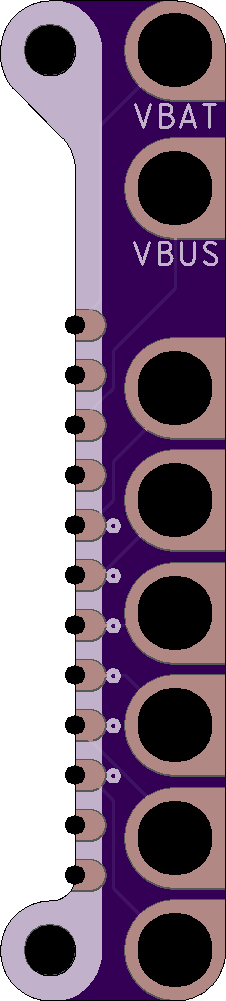
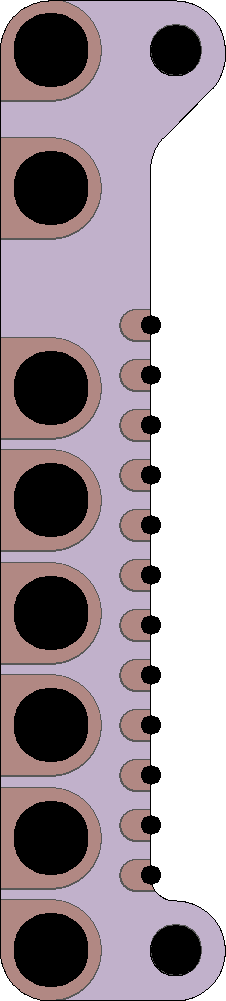
2 layer board of 0.45 x 2.00 inches (11.5 x 50.8 mm)
Uploaded:
August 16, 2018
Shared:
August 16, 2018
Total Price:
$4.50
Hey
This is half of a thing, here’s the other half
https://oshpark.com/shared_projects/GiGfiF2m
Pins available
- Battery voltage (3.0~4.2, if present)
- USB supply voltage (typically 5V, if present)
- 6 generic digital IO pins (the numbering of these varies between Feathers)
This side does not offer a Ground, if used on it’s own you must provide one
Instructions
- Use mounting holes to attach the plumage to the feather, or a wing with the plumage below the parent board. The boards should be touching, and make sure the header holes are reasonably aligned.
- Place a header through the parent board, regular length headers should have the pin extending far enough to attach the plumage.
- Solder the 3 together at each pin, you may want to do the outsides first and work inward.
