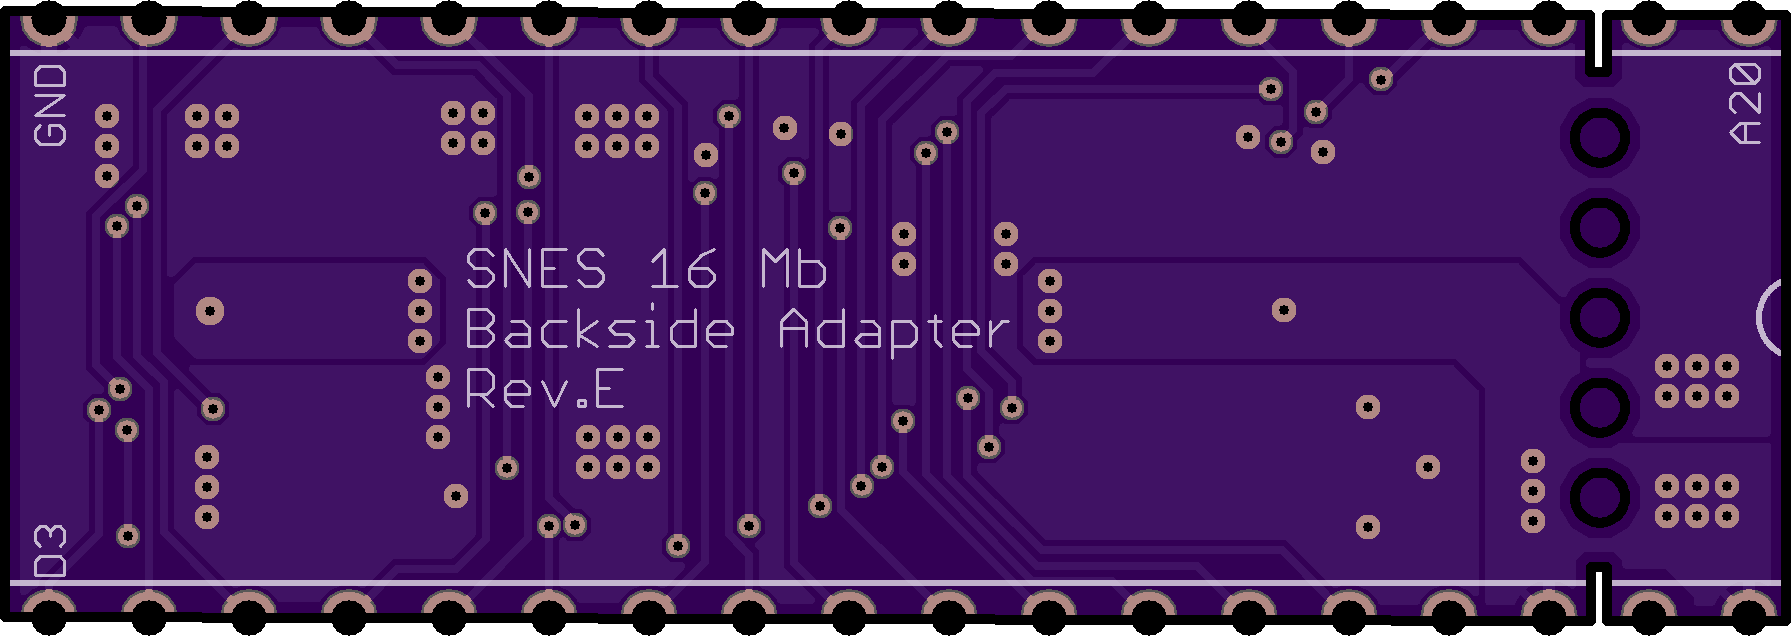
SNES 16Mb TSOP-DIP Backside Adapter Rev.E
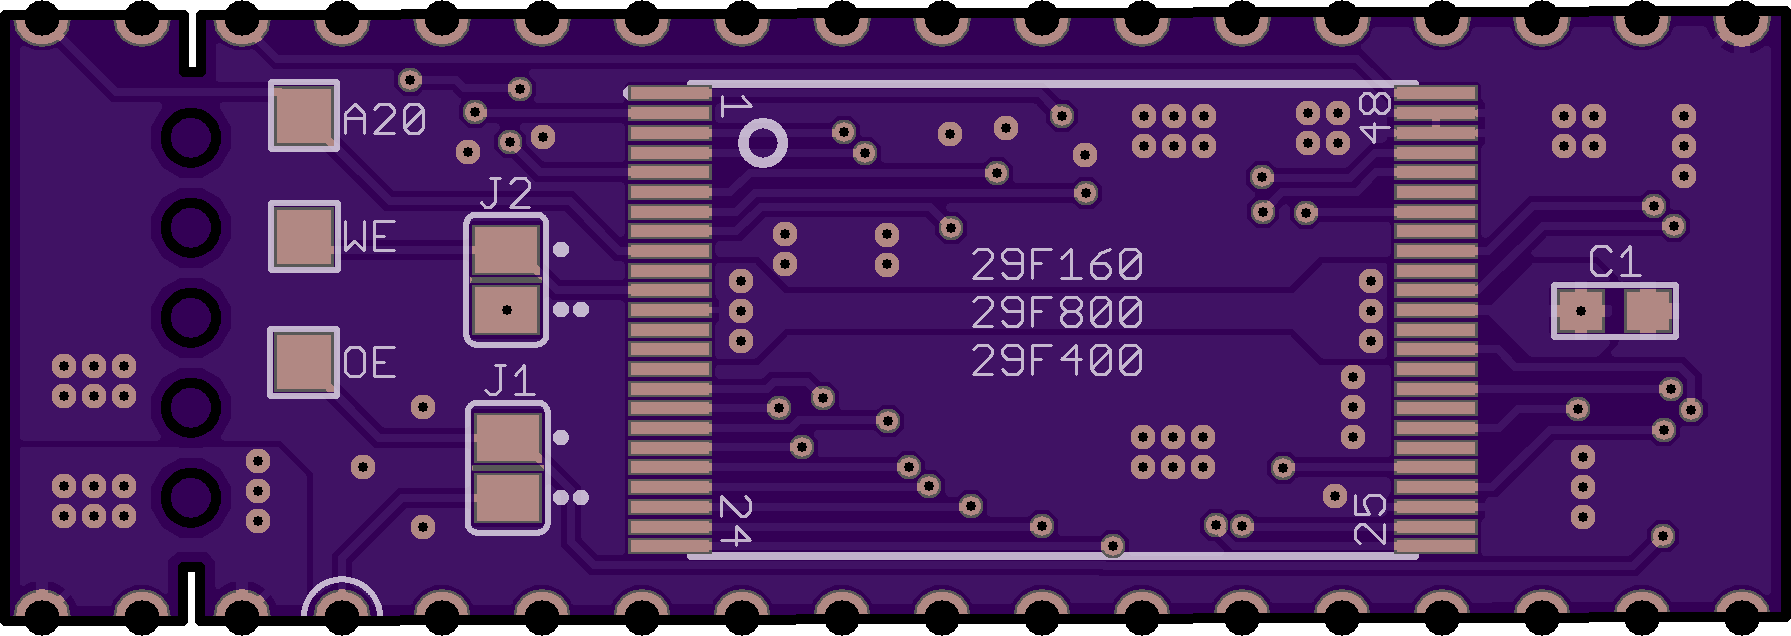
2 layer board of 1.79 x 0.61 inches (45.4 x 15.6 mm)
Uploaded:
February 04, 2025
Shared:
February 04, 2025
Total Price:
$5.45
Rev.E is not tested! So far only Rev.B has been tested with an 8Mb game on a 29F800 in a 32-pin socket, and it was found to work. Use at your own risk!
This adapter installs on the backside of a SNES mask ROM. You must cut or isolate the /OE pin on the mask ROM and tie it to Vcc.
This adapter …
Show full description
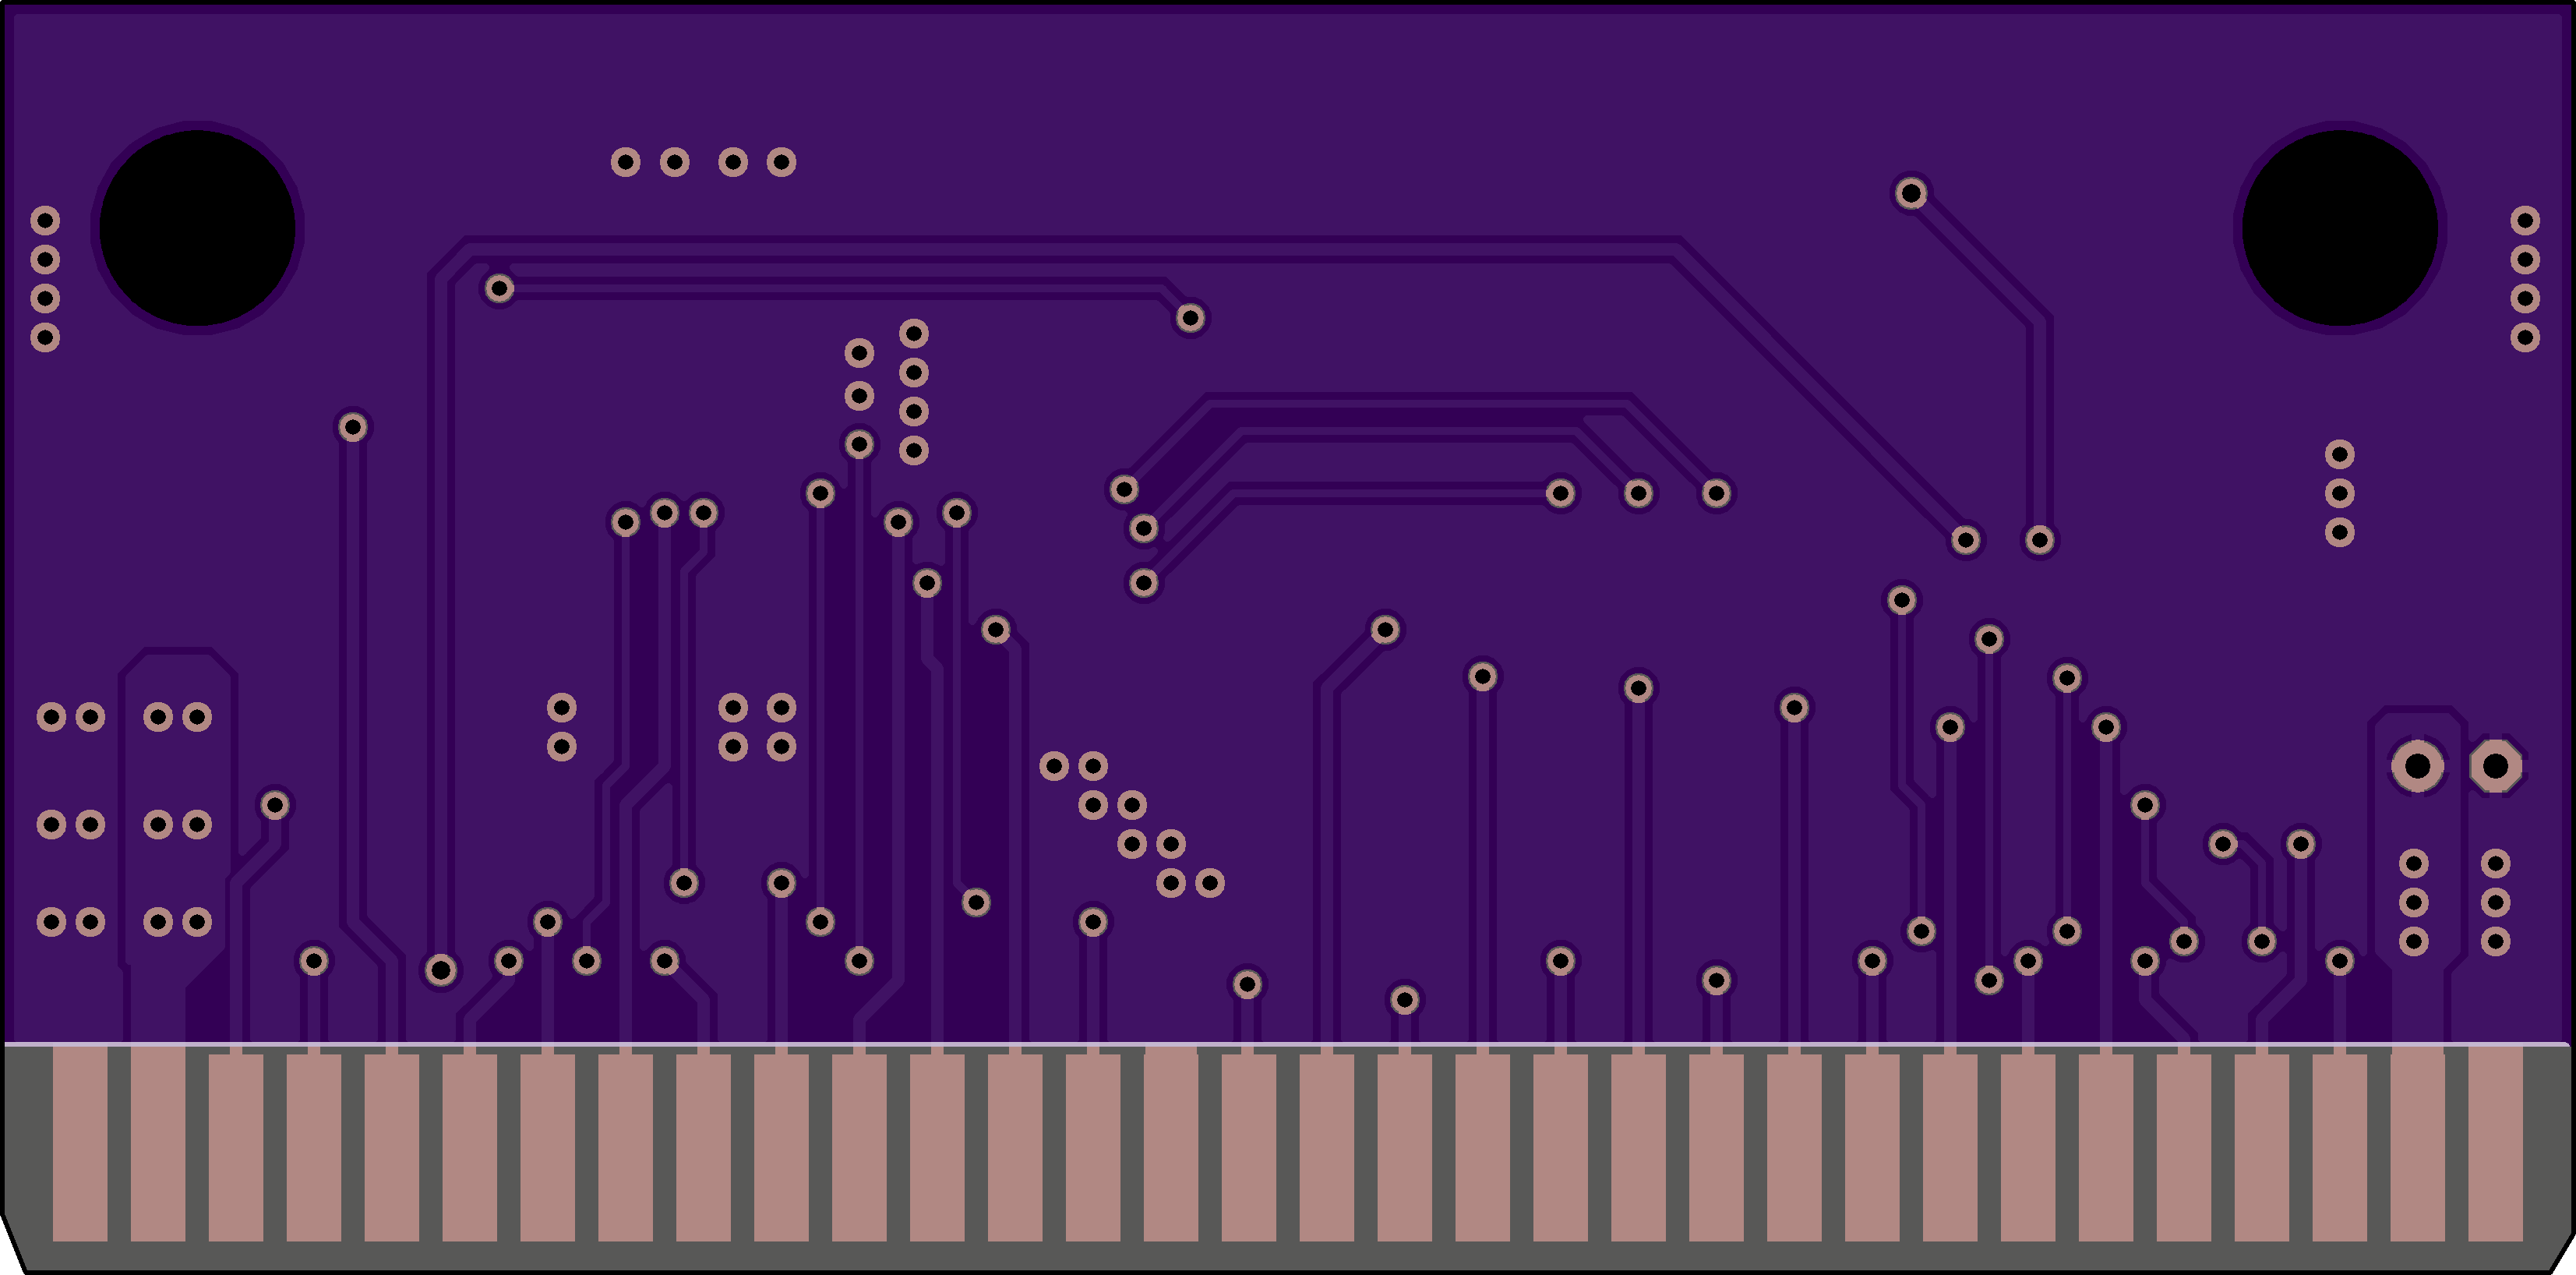
SEGA Genesis 16Mb (Multi) Cart - Rev.C
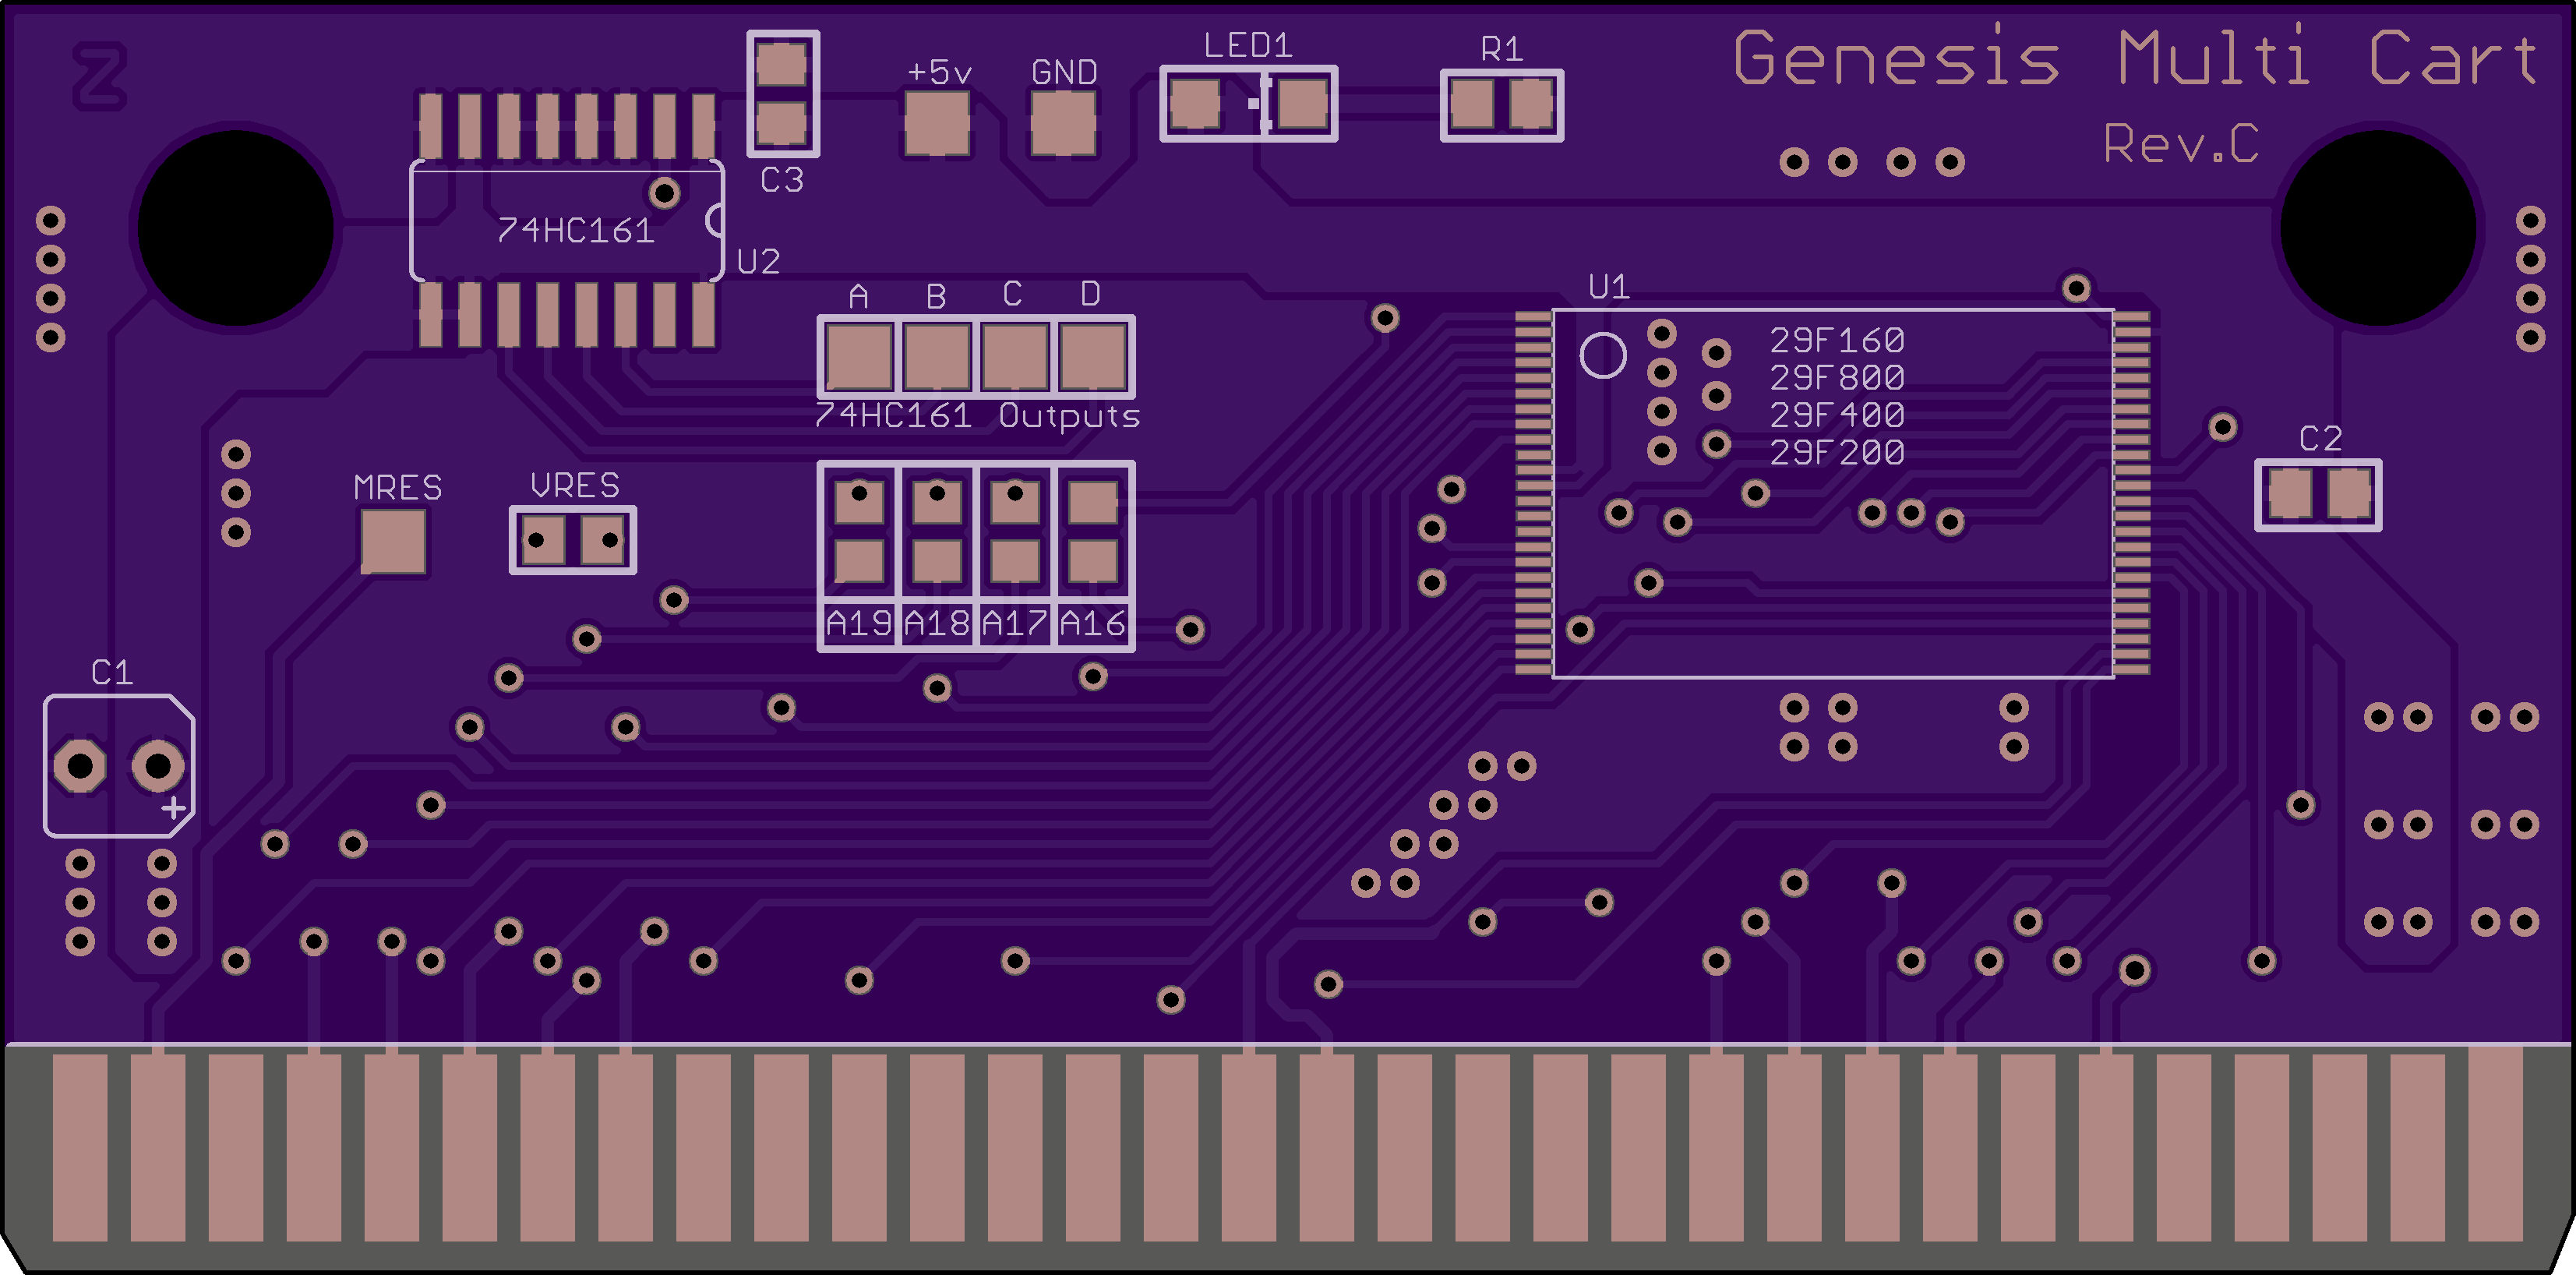
2 layer board of 3.30 x 1.63 inches (83.8 x 41.4 mm)
Uploaded:
January 21, 2025
Shared:
February 04, 2025
Total Price:
$26.85
NOT TESTED!
The multi cart function should be considered experimental. Due to the way the Genesis hardware works, the multi cart function may not work for all games.
This cart is a heavily modified version of HD Retrovision's Genesis cart.
To use this cart for a single game, close all addres…
Show full description
ATX PSU Latching Circuit for Mom Switch (THT)
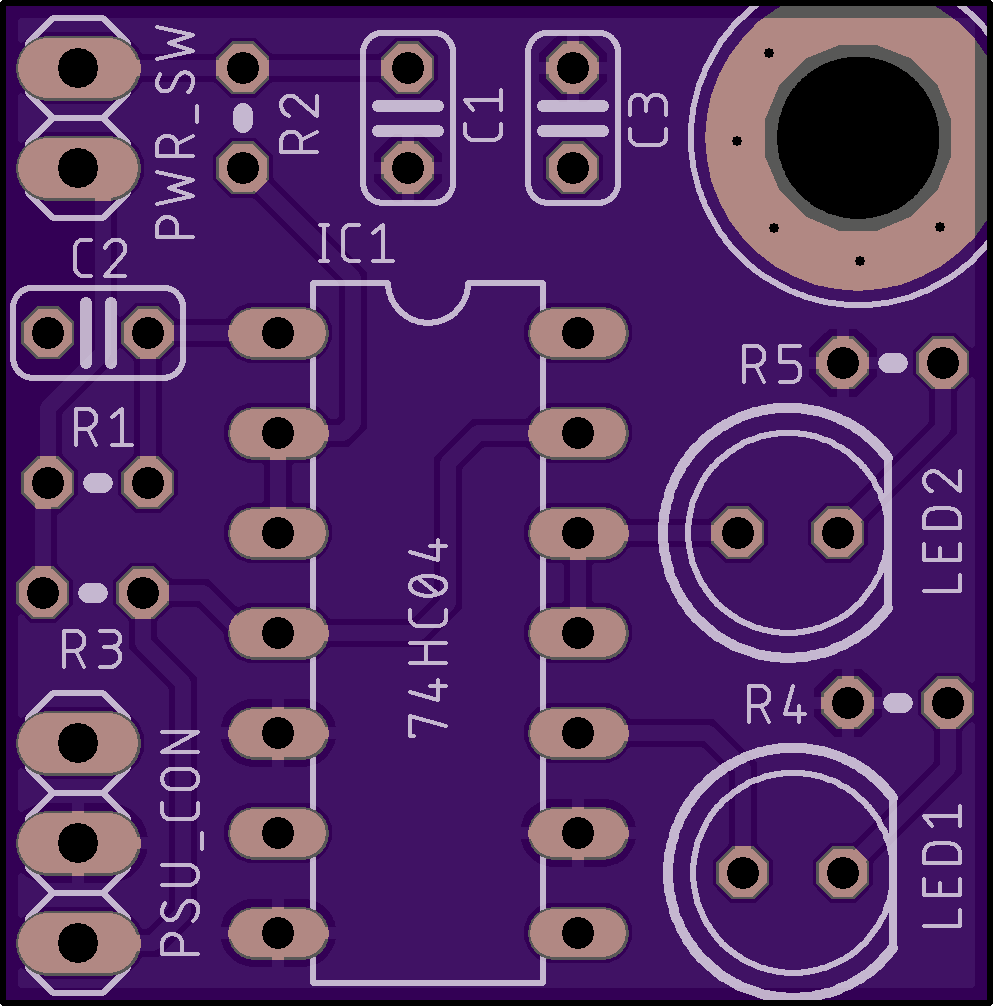
2 layer board of 0.99 x 1.00 inches (25.1 x 25.4 mm)
Uploaded:
August 16, 2024
Shared:
August 16, 2024
Total Price:
$4.90
NOT TESTED
-U1 - 74HC04 -R1 - 1 k ohm -R2 - 100 k ohm -R3 - 10 k ohm -C1 - 100 nF -C2 - 10 nF
NOT TESTED
-U1 - 74HC04 -R1 - 1 k ohm -R2 - 100 k ohm -R3 - 10 k ohm -C1 - 100 nF -C2 - 10 nF
74LS139 Adapter for 2J3B (Final Fantasy V) Rev.C

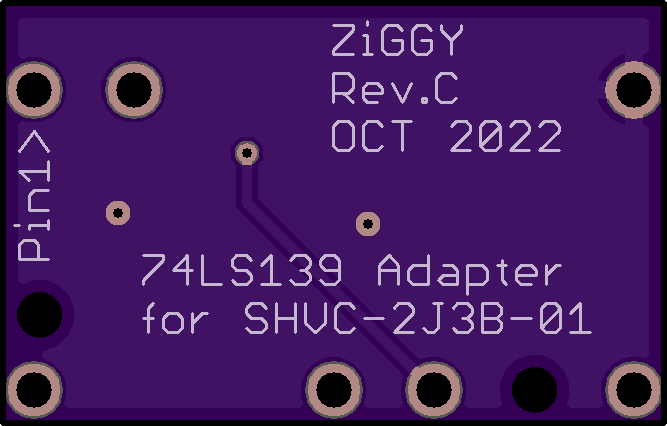
2 layer board of 0.66 x 0.42 inches (16.8 x 10.7 mm)
Uploaded:
October 27, 2022
Shared:
August 20, 2023
Total Price:
$1.35
This is an adapter that will allow you to replace the 73LS00 with a 74LS139 on a SHVC-2J3B-01 PCB. This may only be useful for a single purpose: To put the fan translated Final Fantasy 5 on an authentic Final Fantasy 5 SFC cart that uses the 2J3B board by using three 27C080’s.
Final Fantasy V is…
Show full description
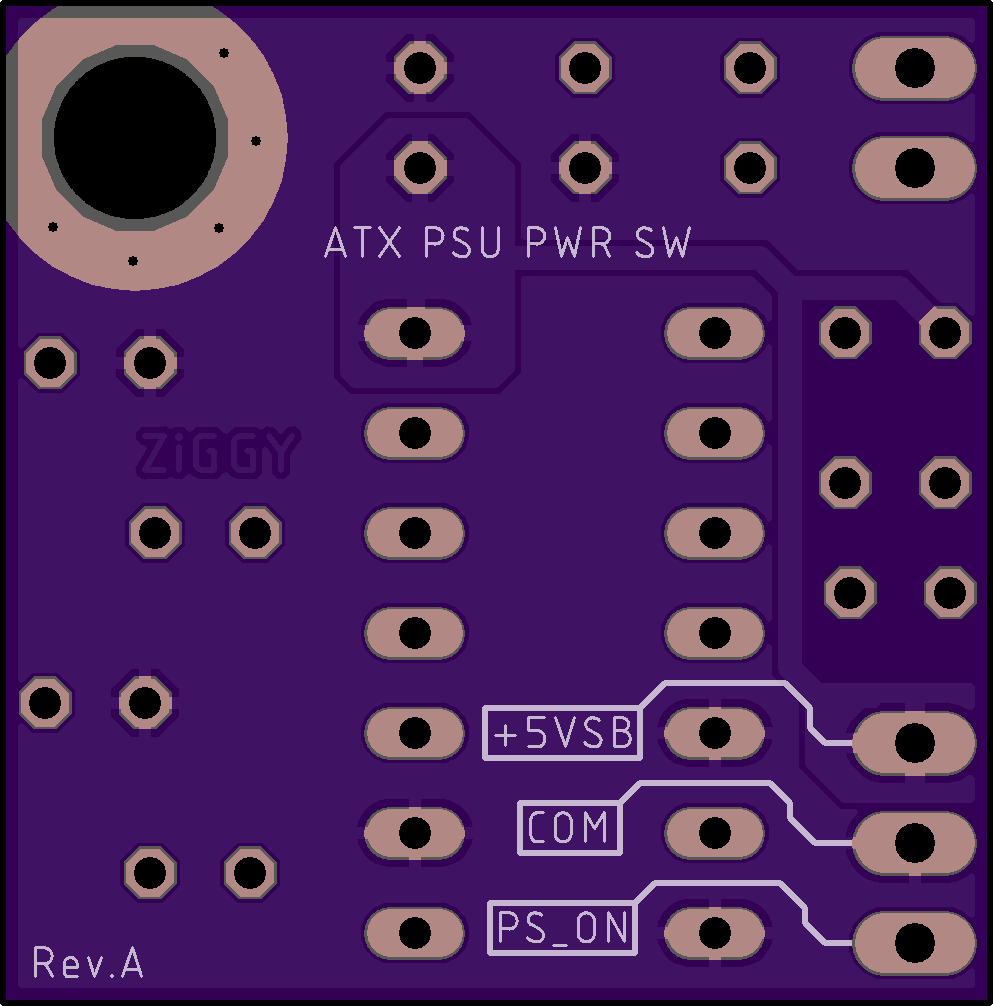
ATX PSU Latching Circuit for Mom Power Switch
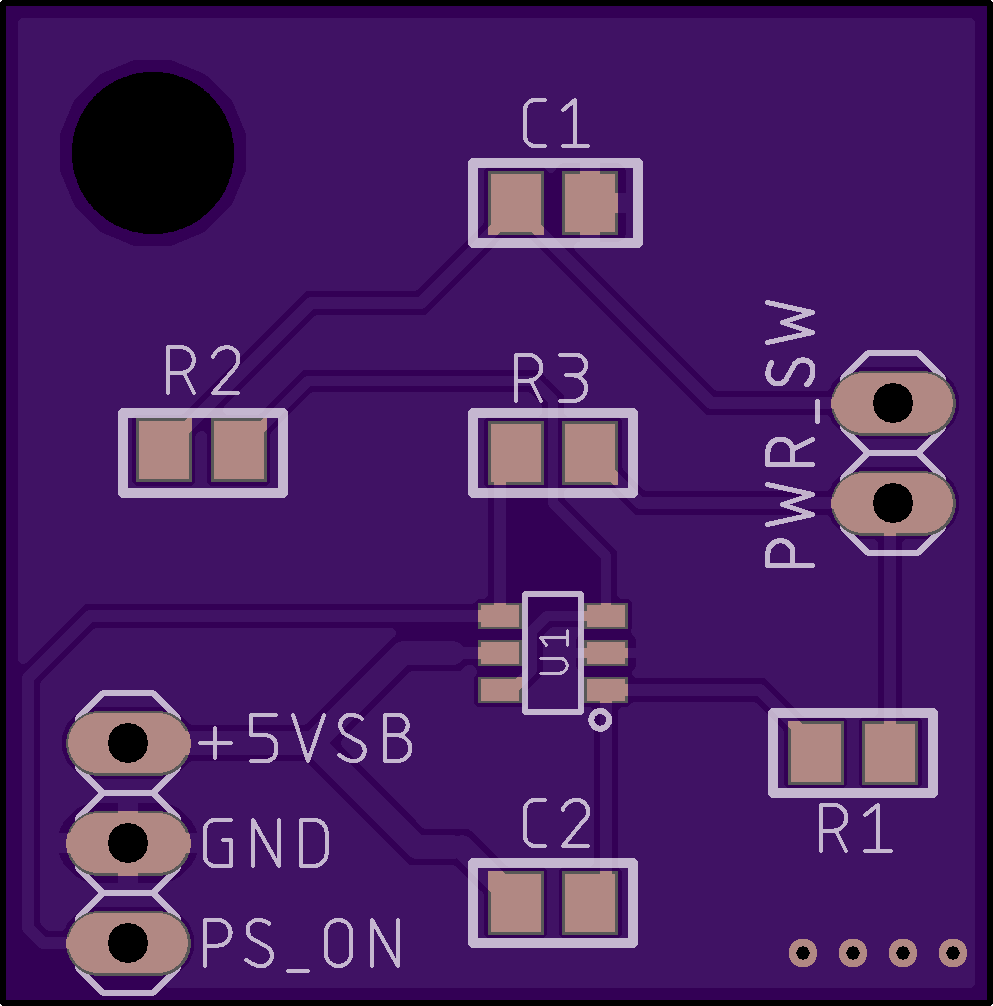
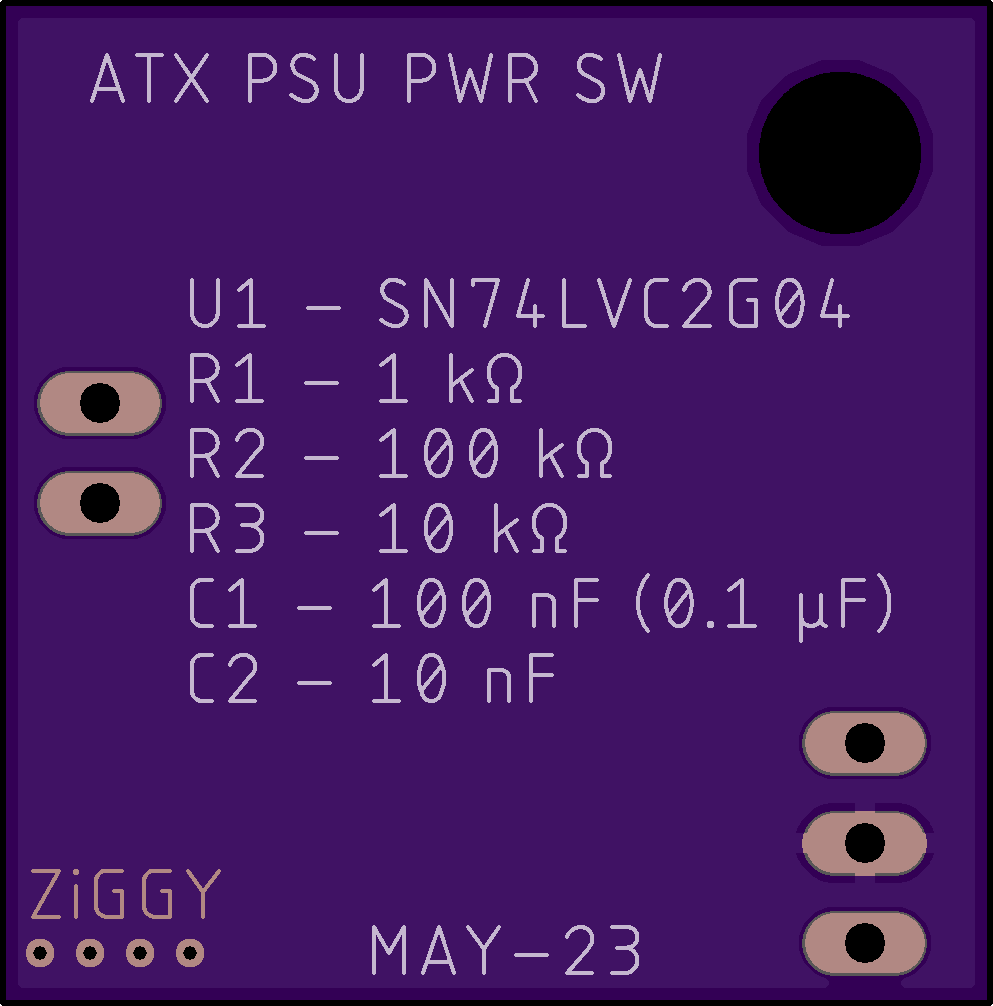
2 layer board of 0.99 x 1.00 inches (25.1 x 25.4 mm)
Uploaded:
May 27, 2023
Shared:
May 27, 2023
Total Price:
$4.90
This is a simple circuit that will turn on an ATX power supply using a momentary switch. I made this specifically to use an AT style motherboard in an ATX case, however, you could use this generically in any case that you want to turn an ATX PSU on/off using a momentary switch.
The mounting hol…
Show full description
